HOURNEXA USER GUIDE · 06 / 10
From recorded hours to a saved invoice
Prepare an invoice from recorded hours, keep drafts while you check the details and complete it when it is ready. After trying the workflow, back up your work before clearing completed practice invoices.
These instructions describe the invoice workflow in the current development version of HourNexa.
Prepare your invoice details
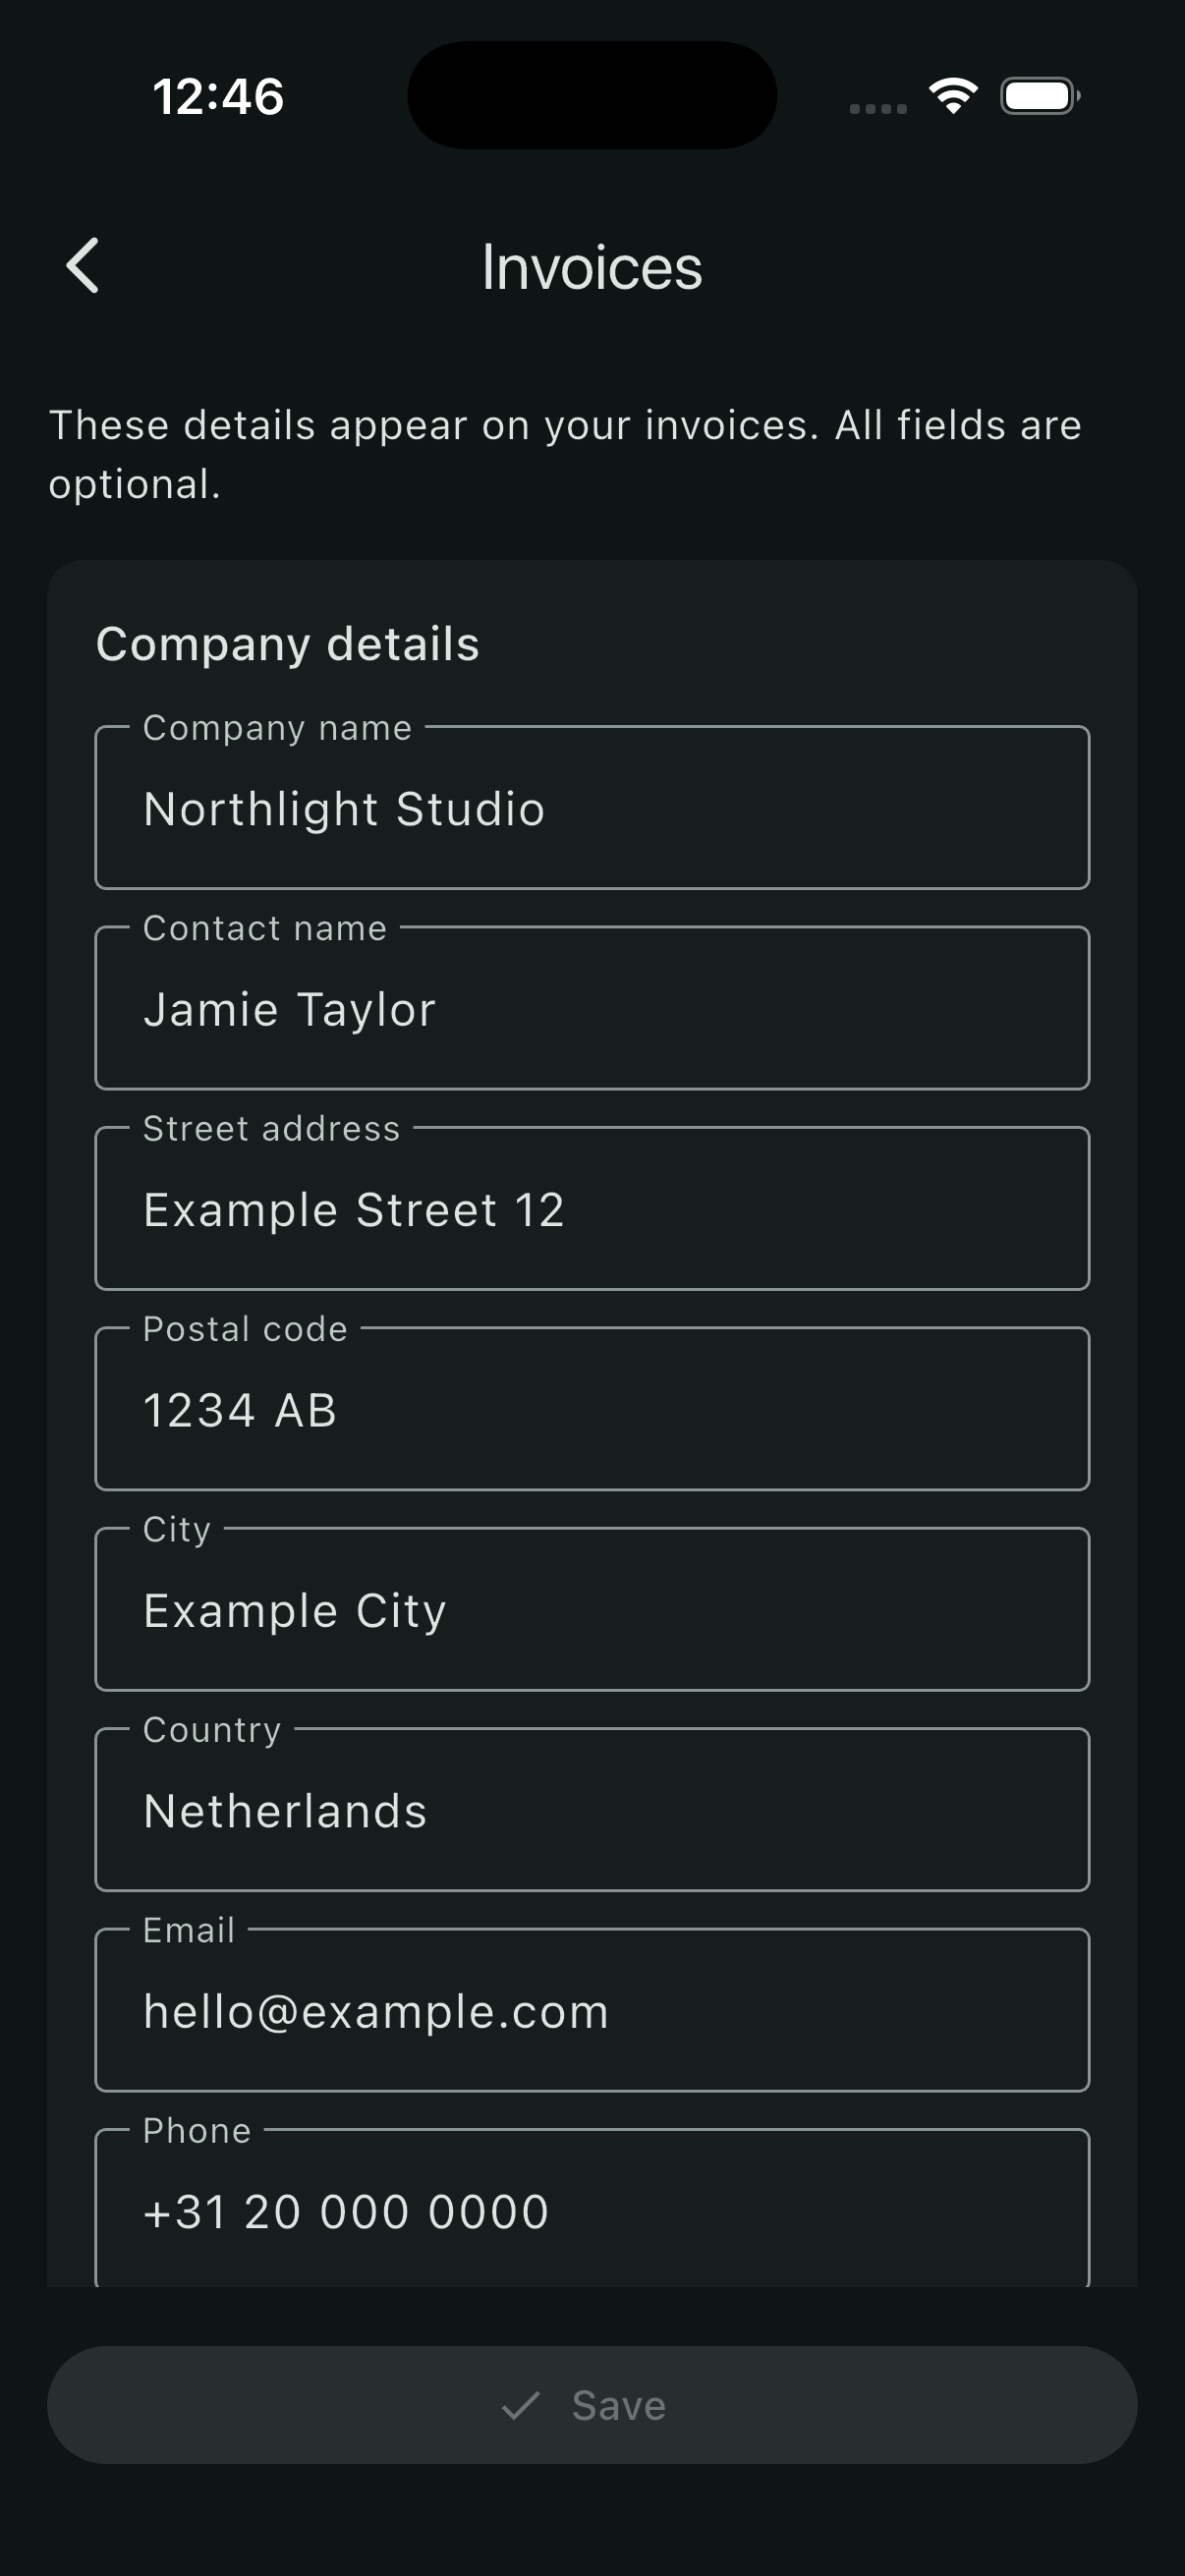
- Open Settings from the home screen menu, scroll to Invoices and open the section heading. Enter your company, contact, registration and payment details, then save.
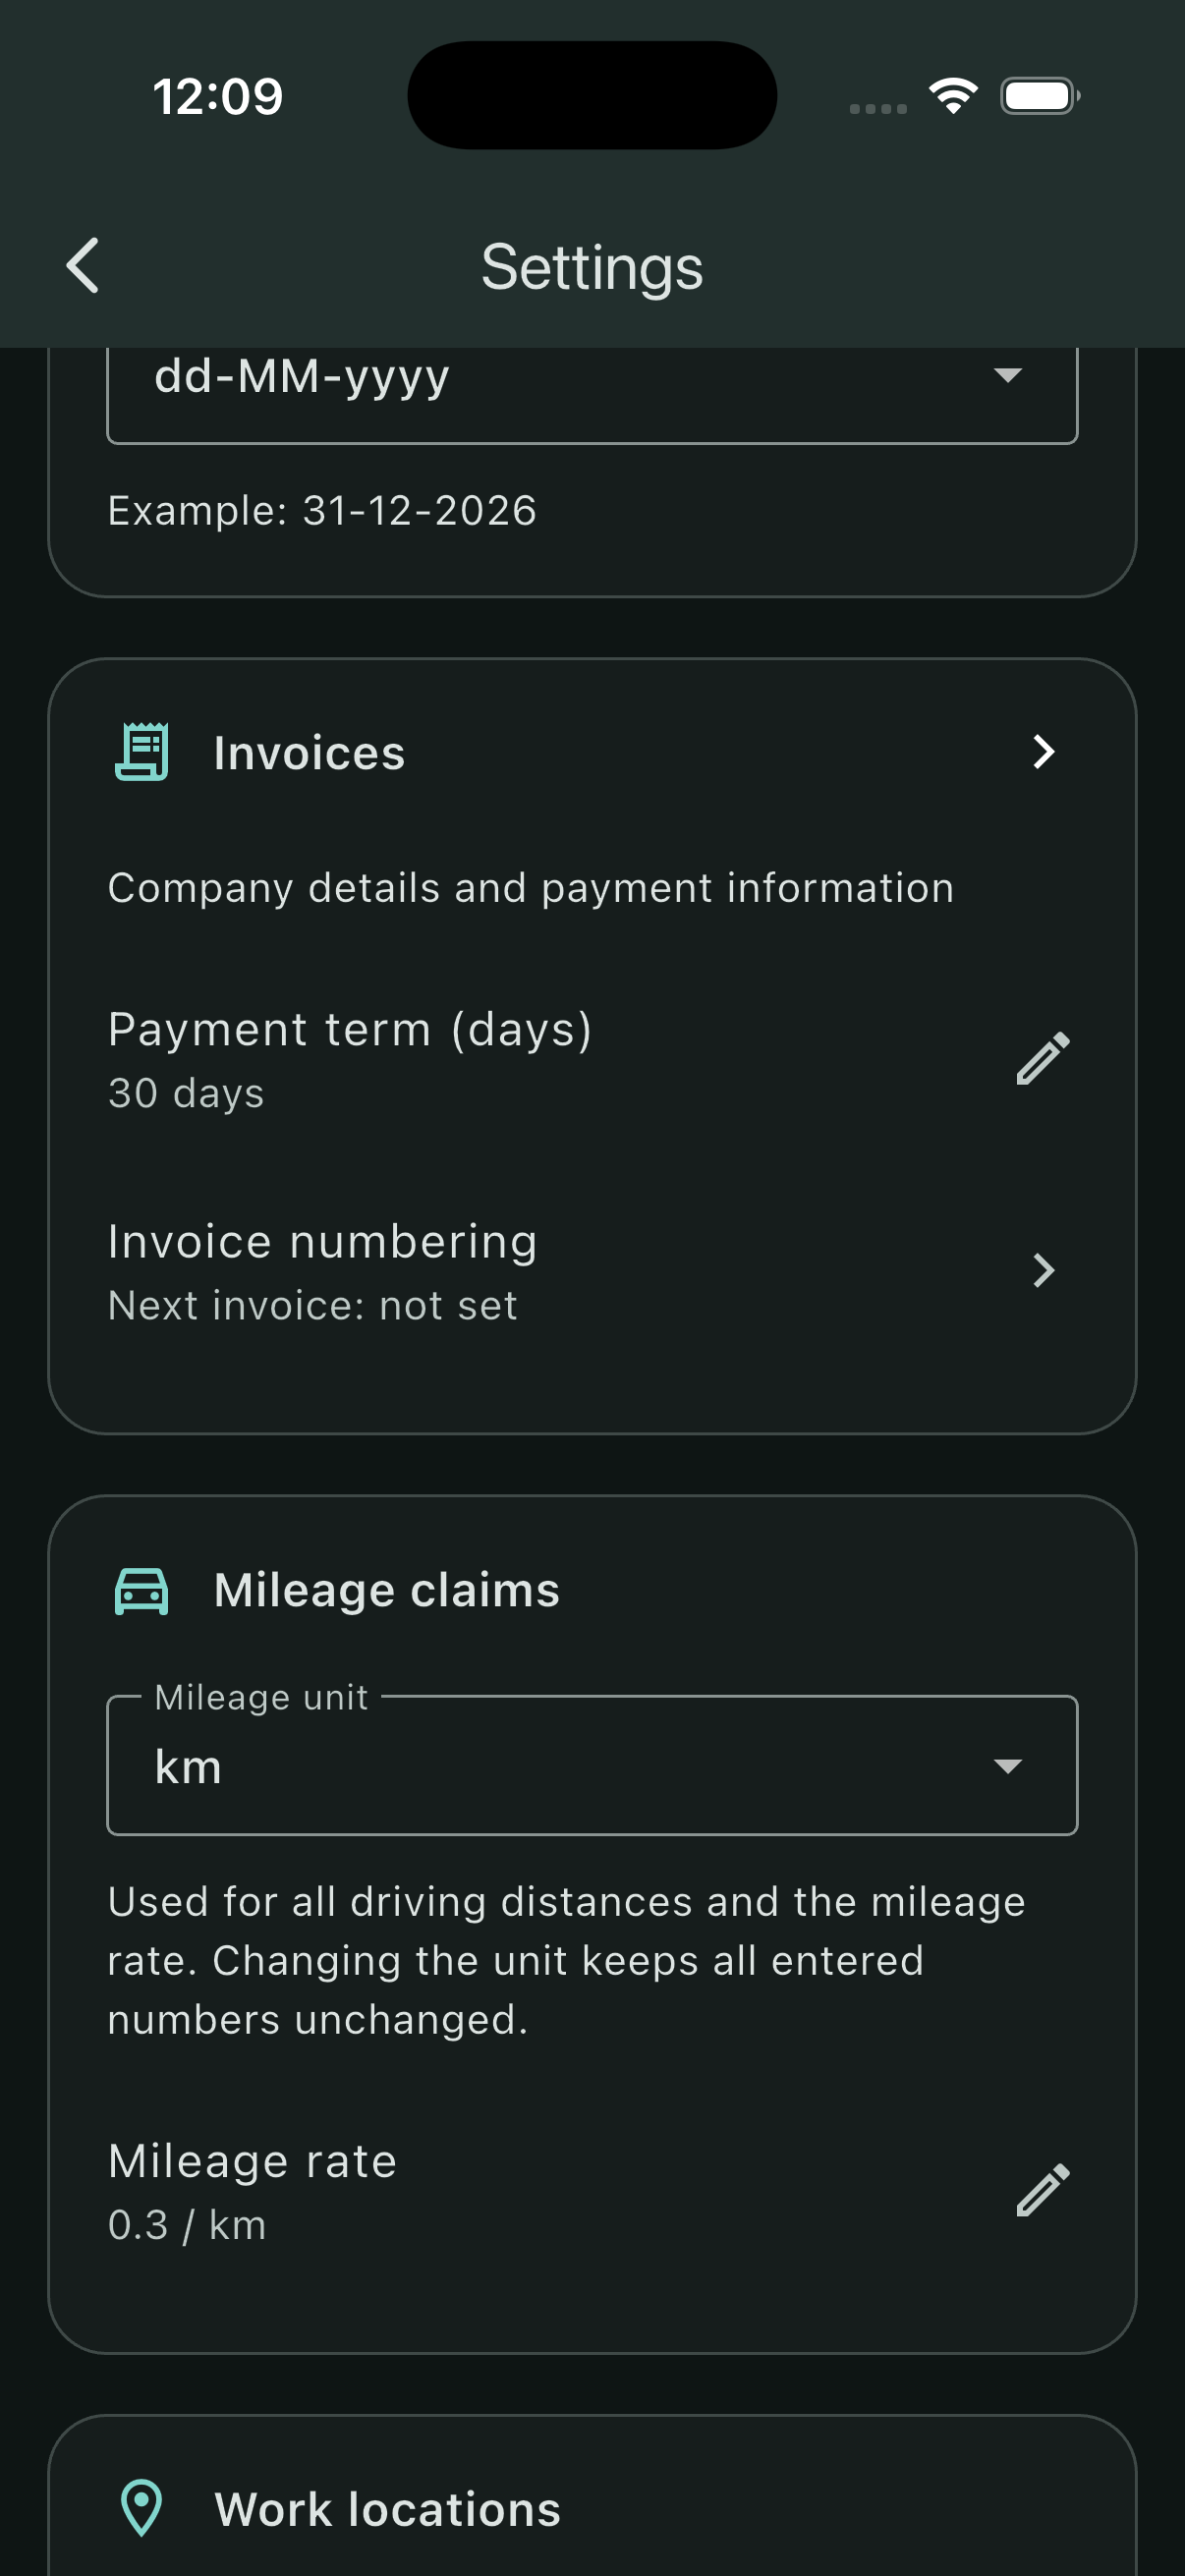
- Check the invoice currency and default VAT rate (%). On the main Settings screen, set Payment term (days). The default is 30 days; leave it empty to omit the payment due date.
- Open the client and check its Billing name and billing address. The billing name is the recipient printed on the invoice.
- Open each task and enter its Hourly rate. A task can specify its own VAT rate (%); otherwise the invoice default applies.
- Review and save the hours for the month you intend to invoice.
Check the PDF before completing it. A missing hourly rate leaves the affected amount and invoice totals as dashes; it does not mean that the work is free. Changing company details, rates or hours later does not change a completed PDF.
Follow the example company
The example uses Northlight Studio, contact Jamie Taylor, and fictional address, registration and payment details. The email address is hello@example.com; the bank field is explicitly marked as a demo.
Enter your own business details when preparing real invoices.
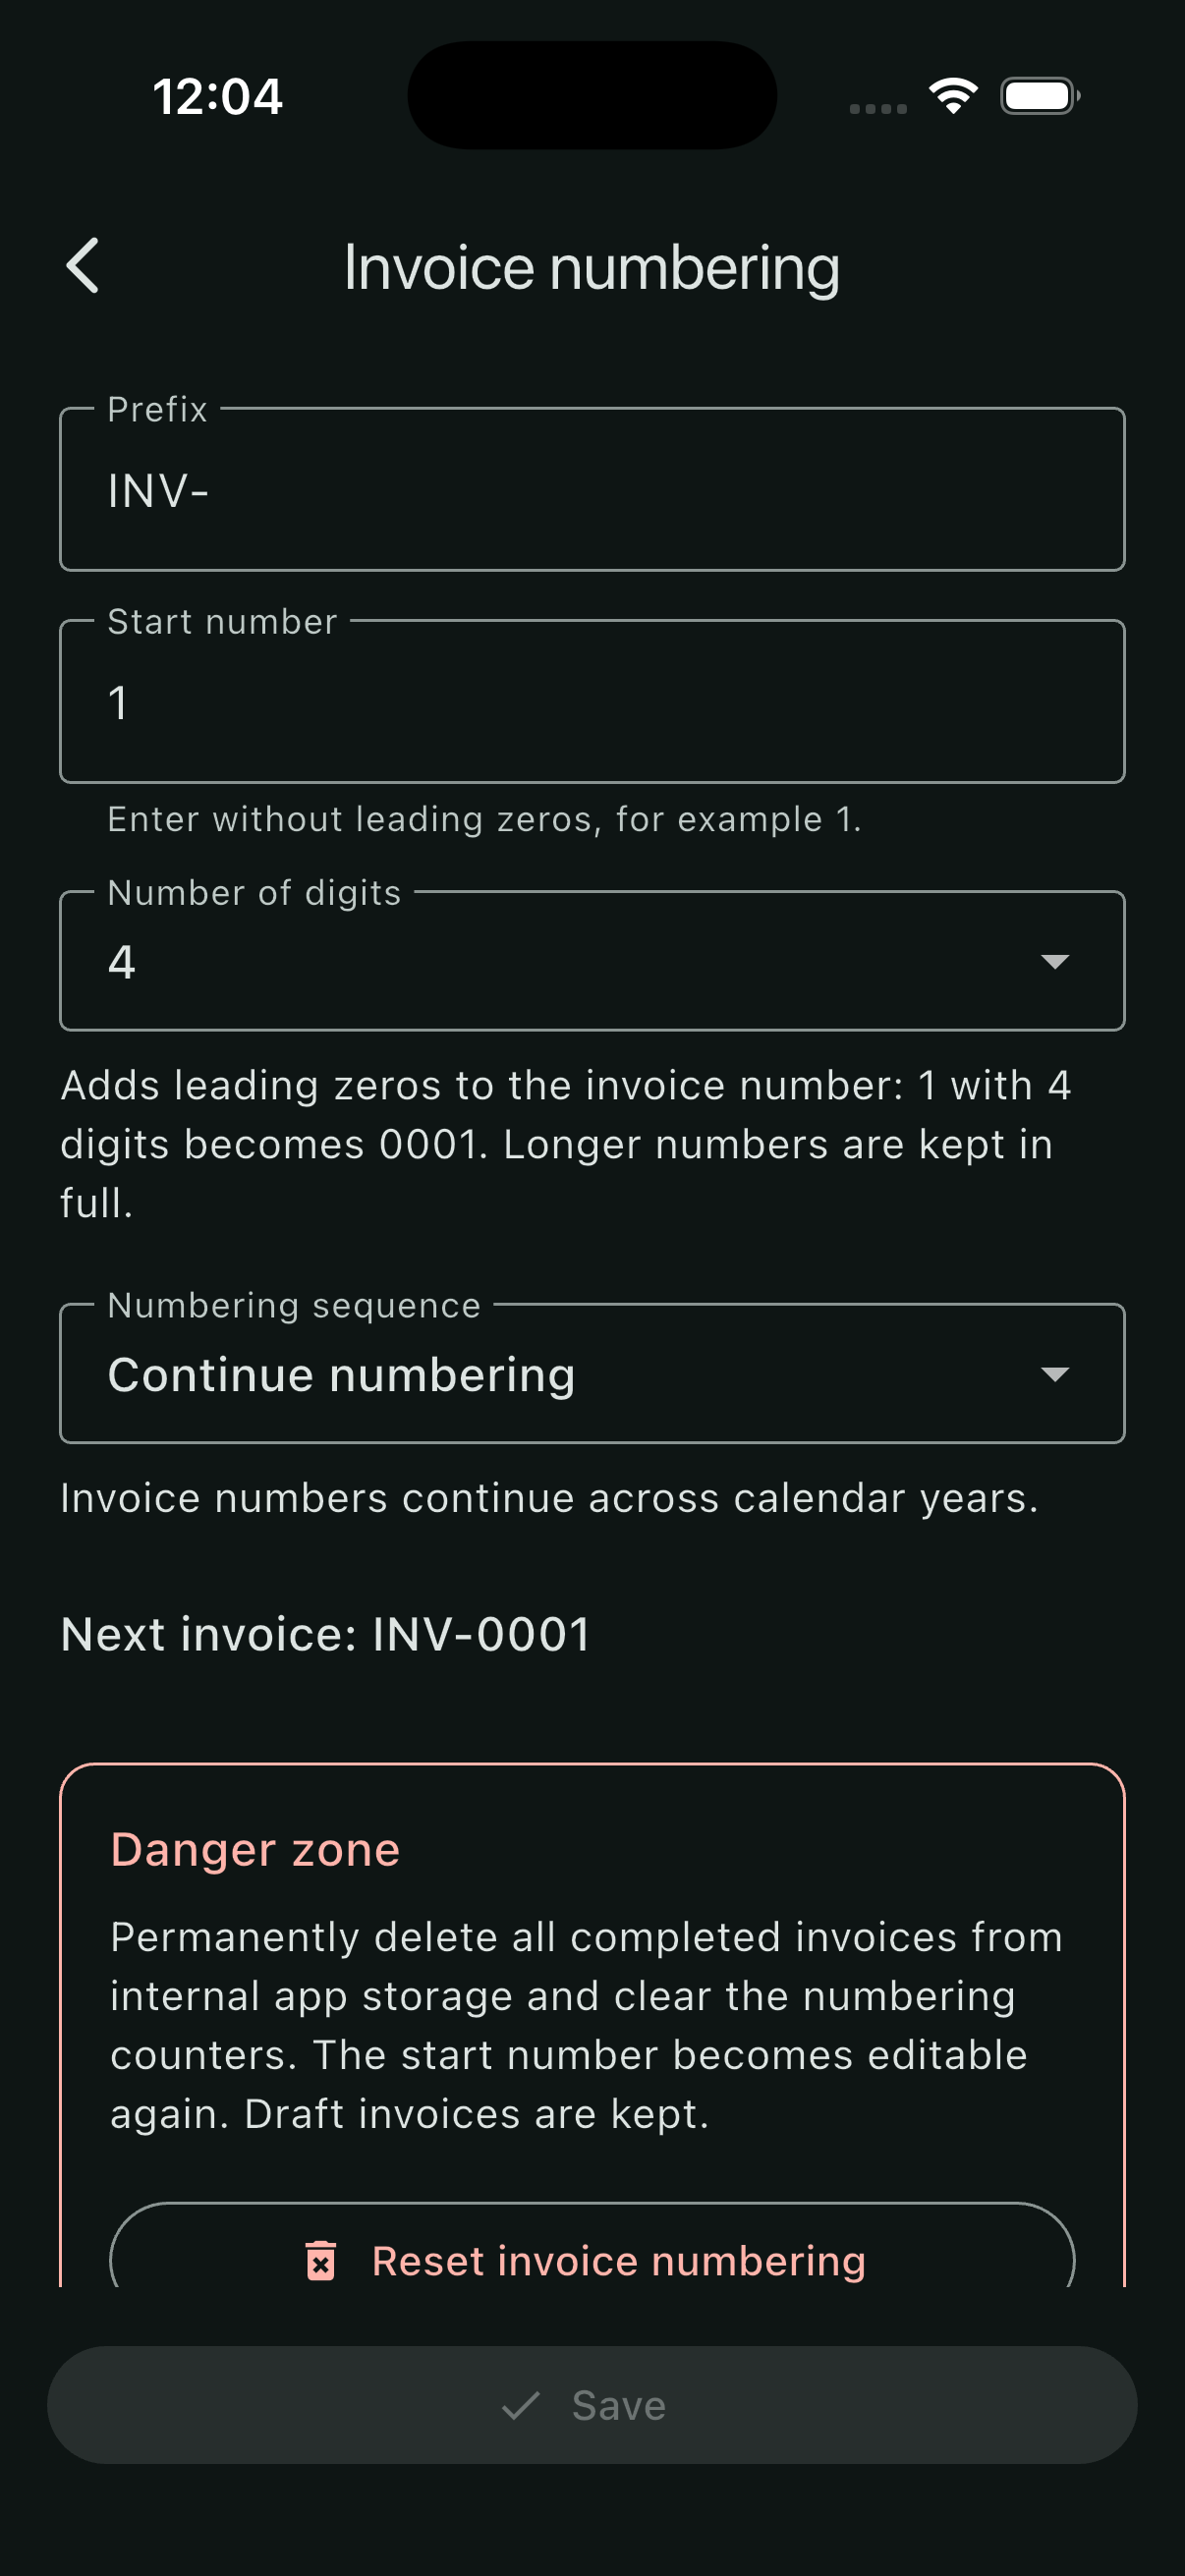
Choose the number before completing
Open Settings → Invoices → Invoice numbering.
- Prefix: optional text such as
INV-. Use letters A–Z, digits 0–9, hyphens or underscores; spaces and slashes are not accepted. - Start number: enter the number without leading zeros, for example
1. - Number of digits: controls zero padding. With prefix
INV-, start number1and 4 digits, the next invoice isINV-0001. Longer numbers are kept in full. - Numbering sequence: continue across years, or reset to 1 each year. For yearly numbering, choose a two-digit or four-digit year. The year is placed between the prefix and sequence number and uses the invoice date.
Check Next invoice and select Save. The start number locks after the first completed invoice. Saving or previewing a draft does not consume a number.
For example, prefix INV-, four year digits and four sequence digits produces INV-20260001 for the first invoice in 2026. The next year starts a separate sequence.
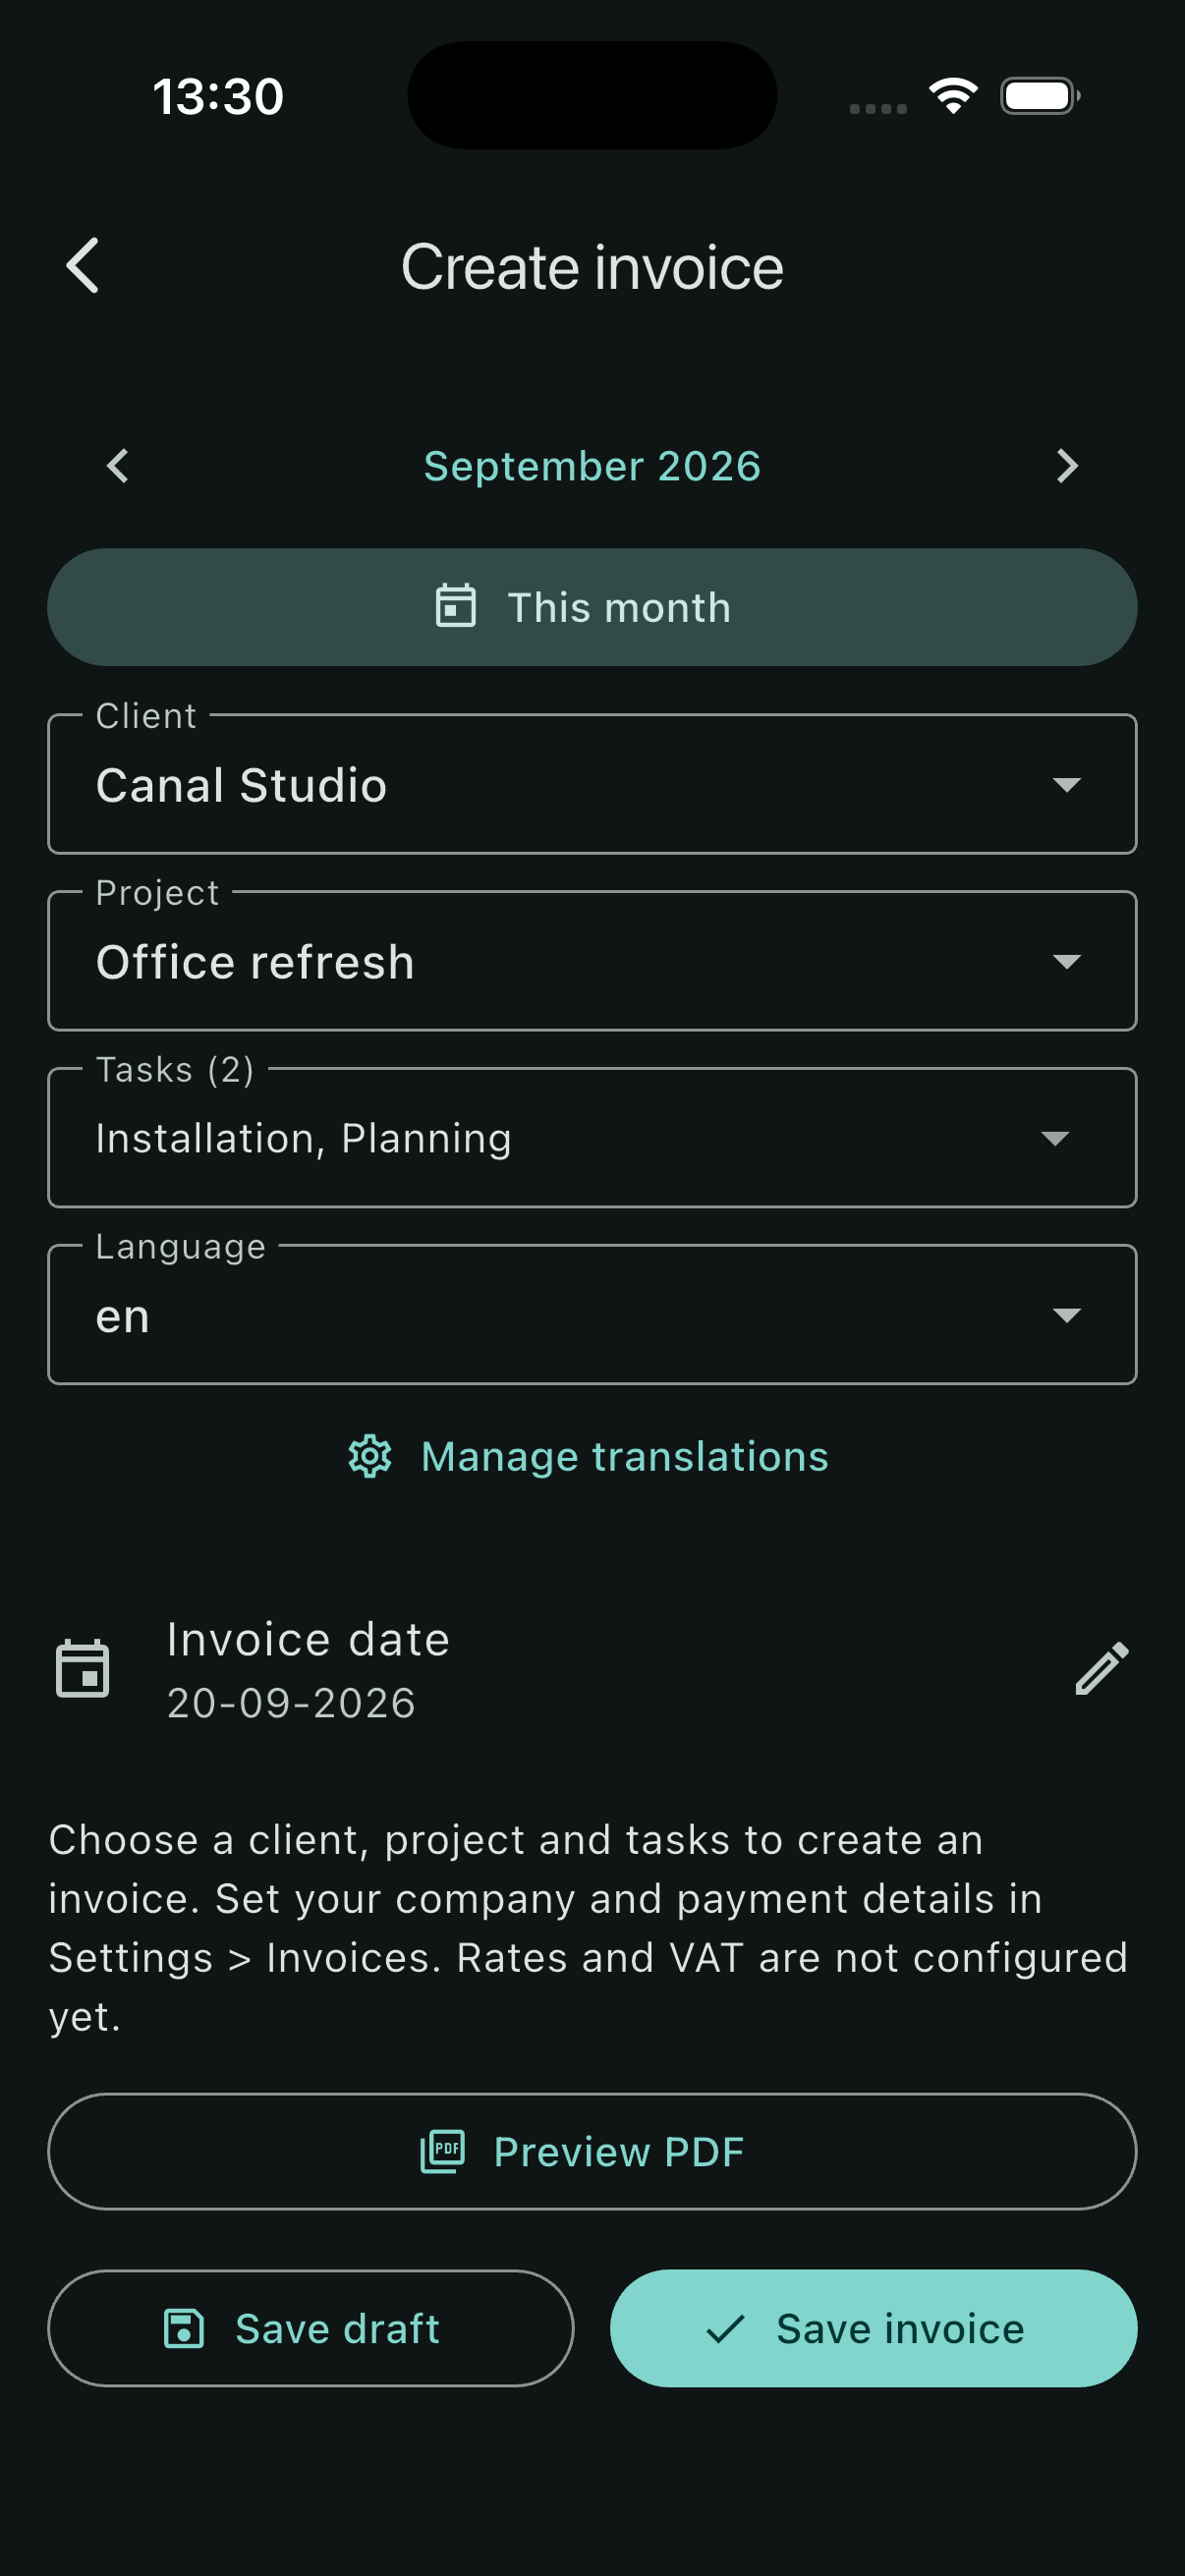
Create and check a draft
- From the home screen, open Invoices → Create invoice.
- Choose the month containing the hours. The screen starts on the previous month; use This month when appropriate.
- Select the client, project and tasks. Check the task selection before continuing.
- Choose the document language and check the Invoice date. The billed month and invoice date are separate choices.
- Select Preview PDF to inspect the draft, or Save draft to return to the list.
Preview PDF also saves the draft internally. It does not assign a final invoice number. Return to the editor to make changes; saving again updates that draft. Its preview has no print or share actions.
The example selects Installation and Planning for Canal Studio’s Office refresh in September 2026. Document wording comes from the shared Manage translations collection.
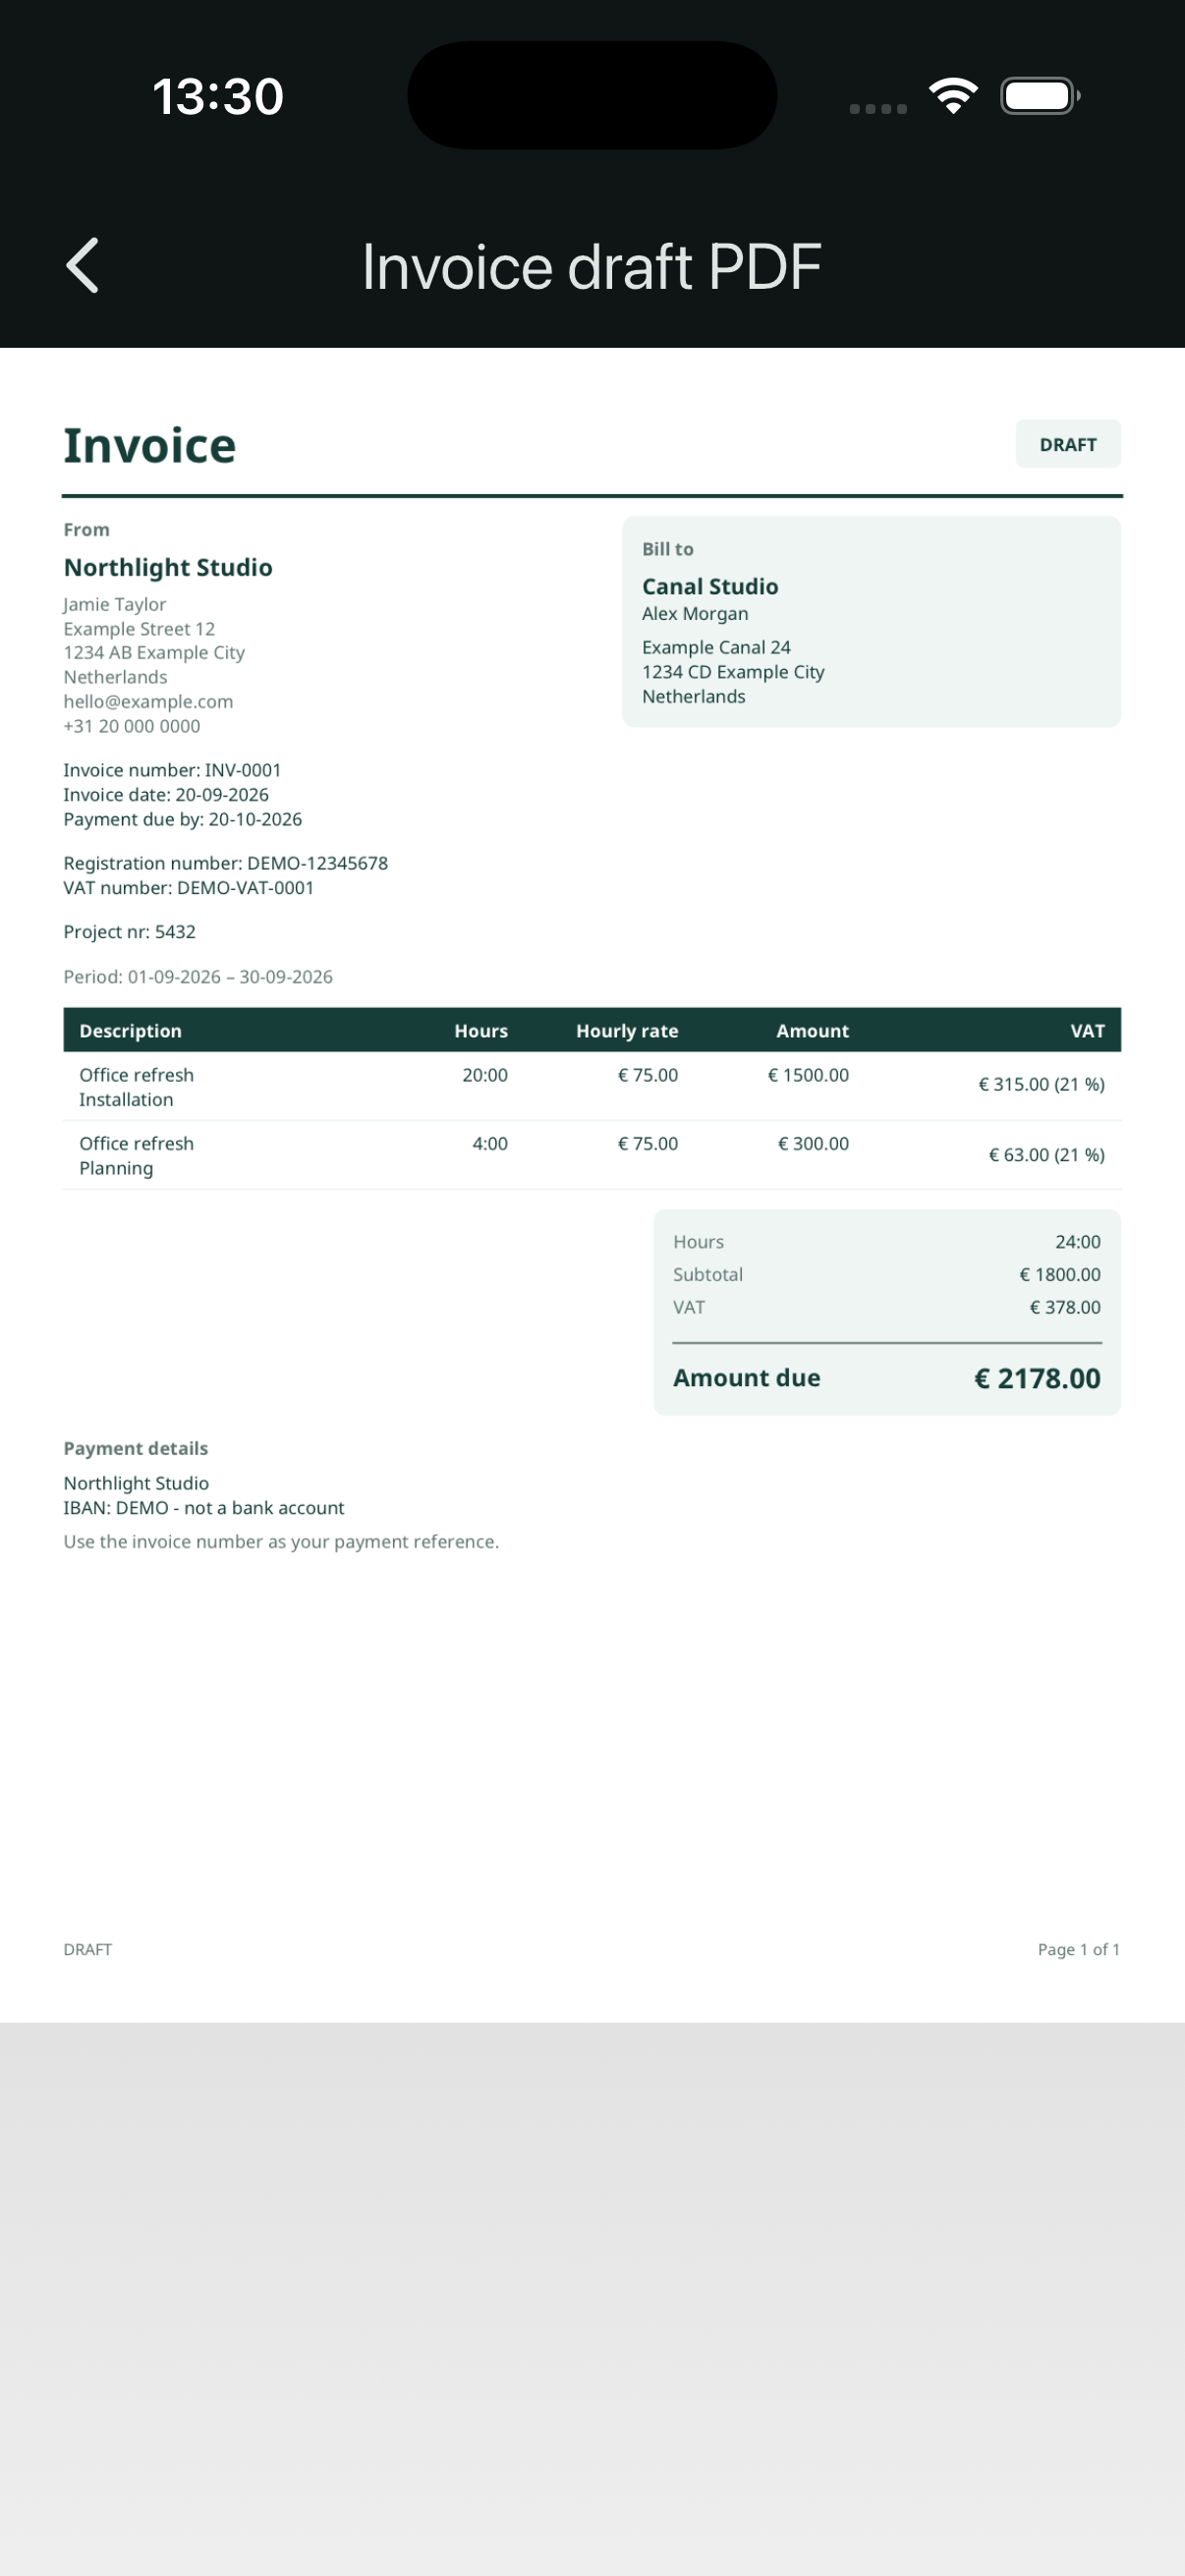
Check the draft PDF
This example shows 20 installation hours and 4 planning hours for September. The DRAFT label shows that it has not been completed. The preview shows the next available number without reserving it.
Both tasks use an example hourly rate of €75.00. The 24 hours total €1800.00 before VAT; 21% VAT adds €378.00, giving an amount due of €2178.00. Check the rates, VAT and payment details before completing an invoice.
Open the example draft PDF to inspect the full document. All company and payment details in this example are fictional.
Complete, reopen and share
- Open your draft and check the details and PDF.
- Select Save invoice.
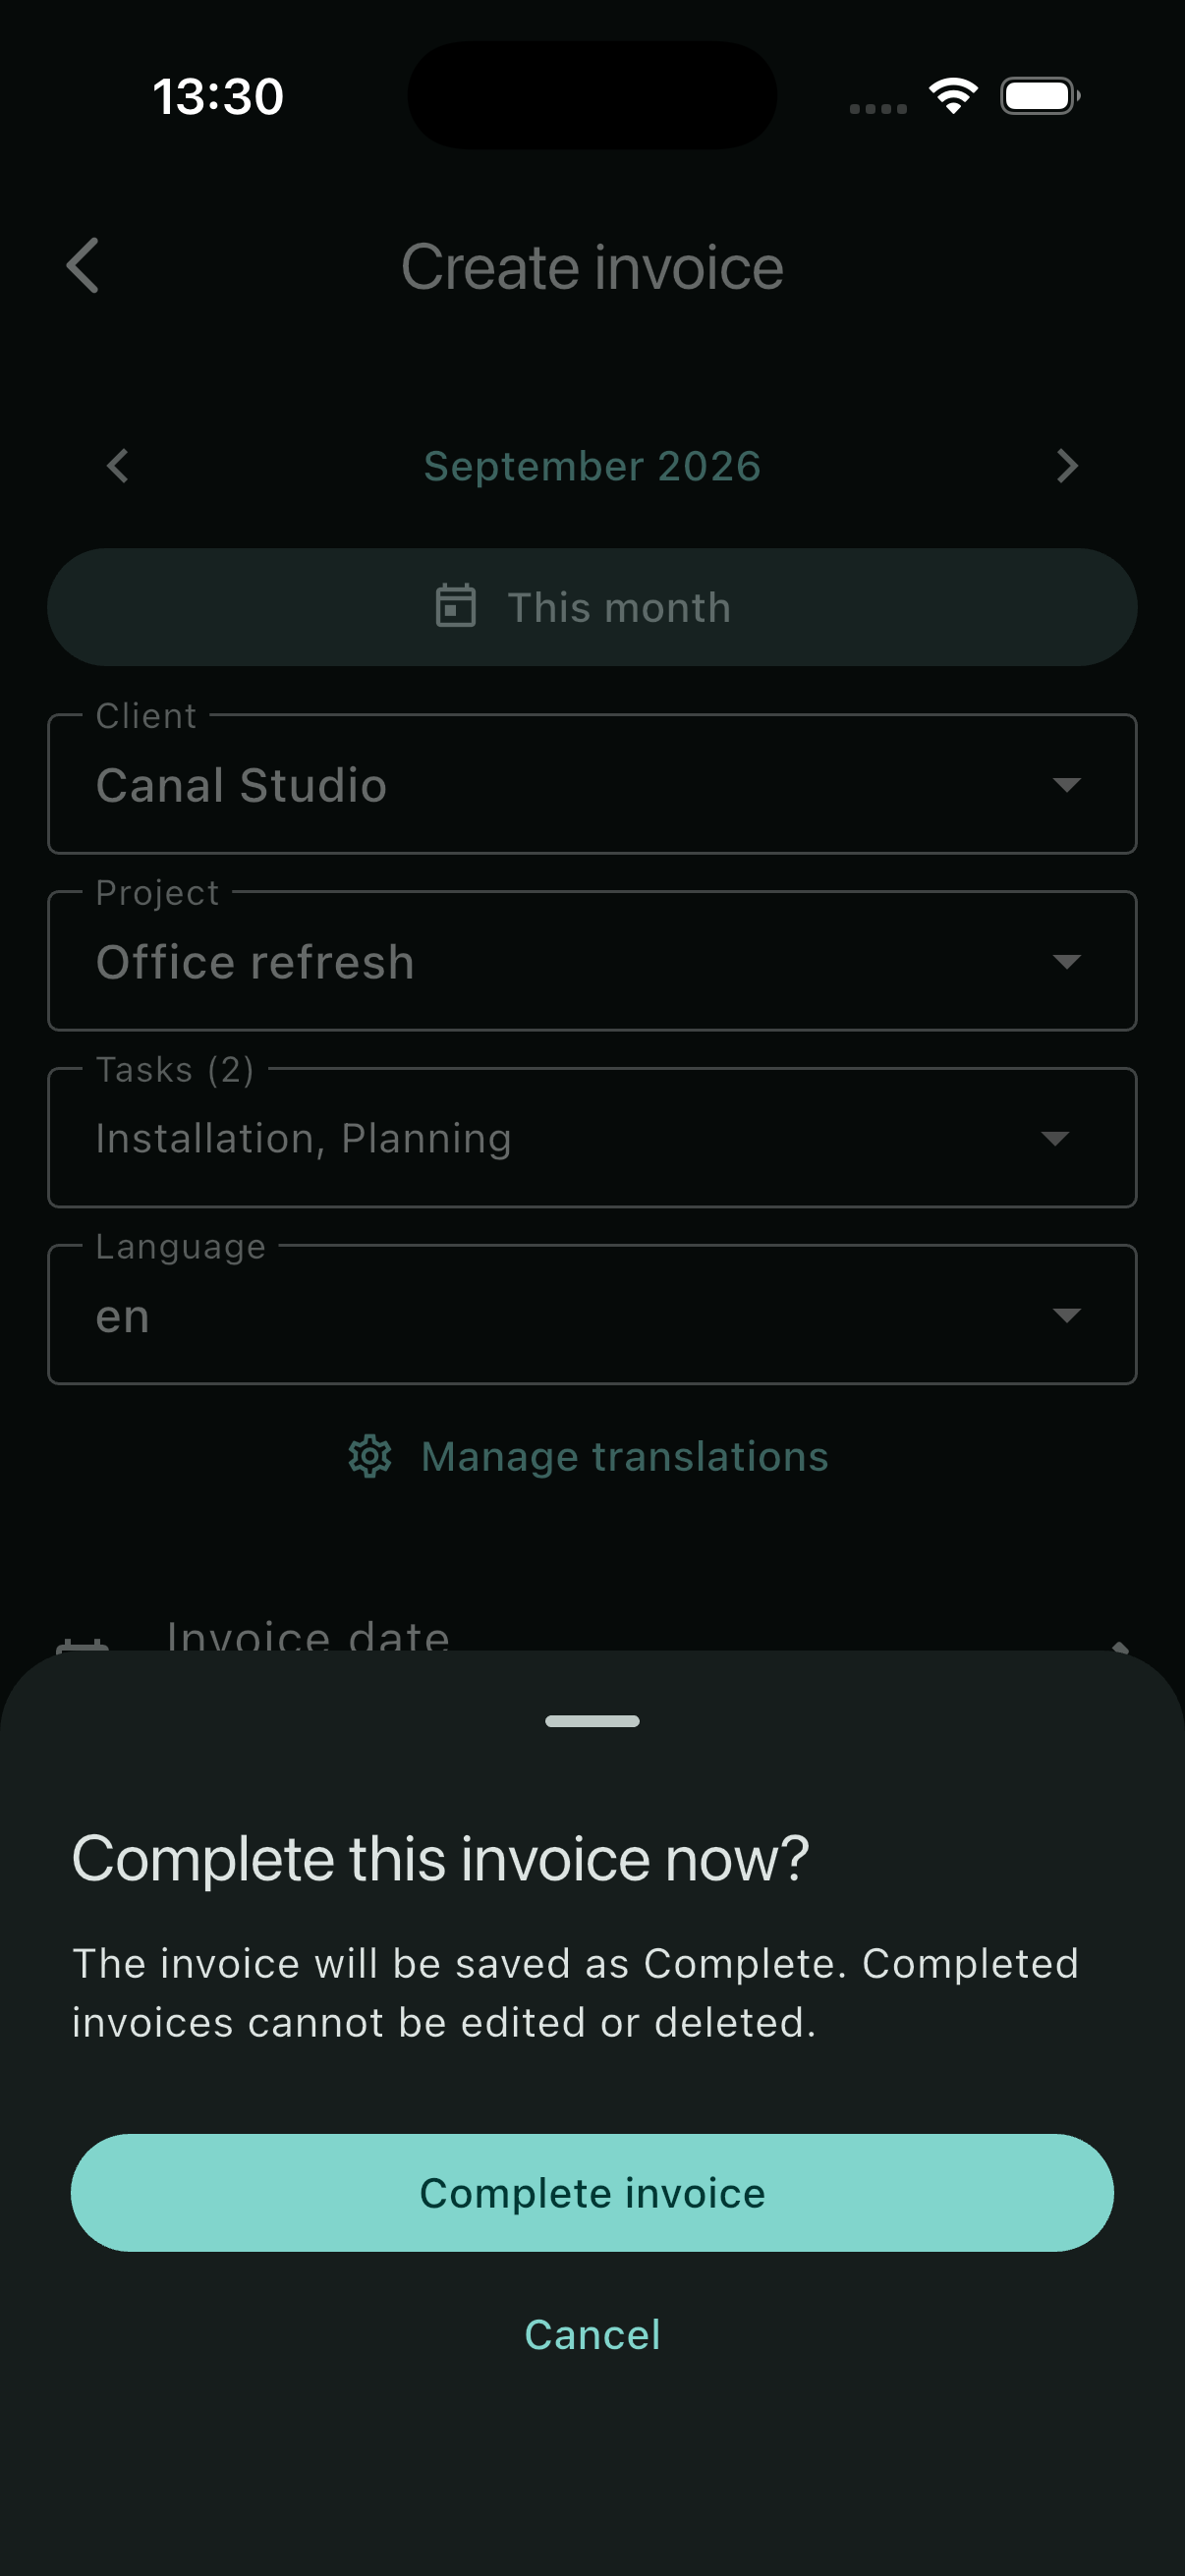
- Read Complete this invoice now? and confirm with Complete invoice.
- Open the completed invoice in the list to view its saved PDF. Use the print or share icon when you want to export it.
Completion assigns the next invoice number and advances the counter. A completed invoice cannot be edited or deleted individually from the list. Use Delete completed invoices in the Danger zone to remove selected completed invoices. The separate numbering reset removes all completed invoices.
Saving a draft or completed invoice also creates an extra cloud copy when configured. Previewing a draft does not. If a cloud copy fails after saving, the invoice remains saved inside the app; check the error before assuming there is an external copy.
Find the right record
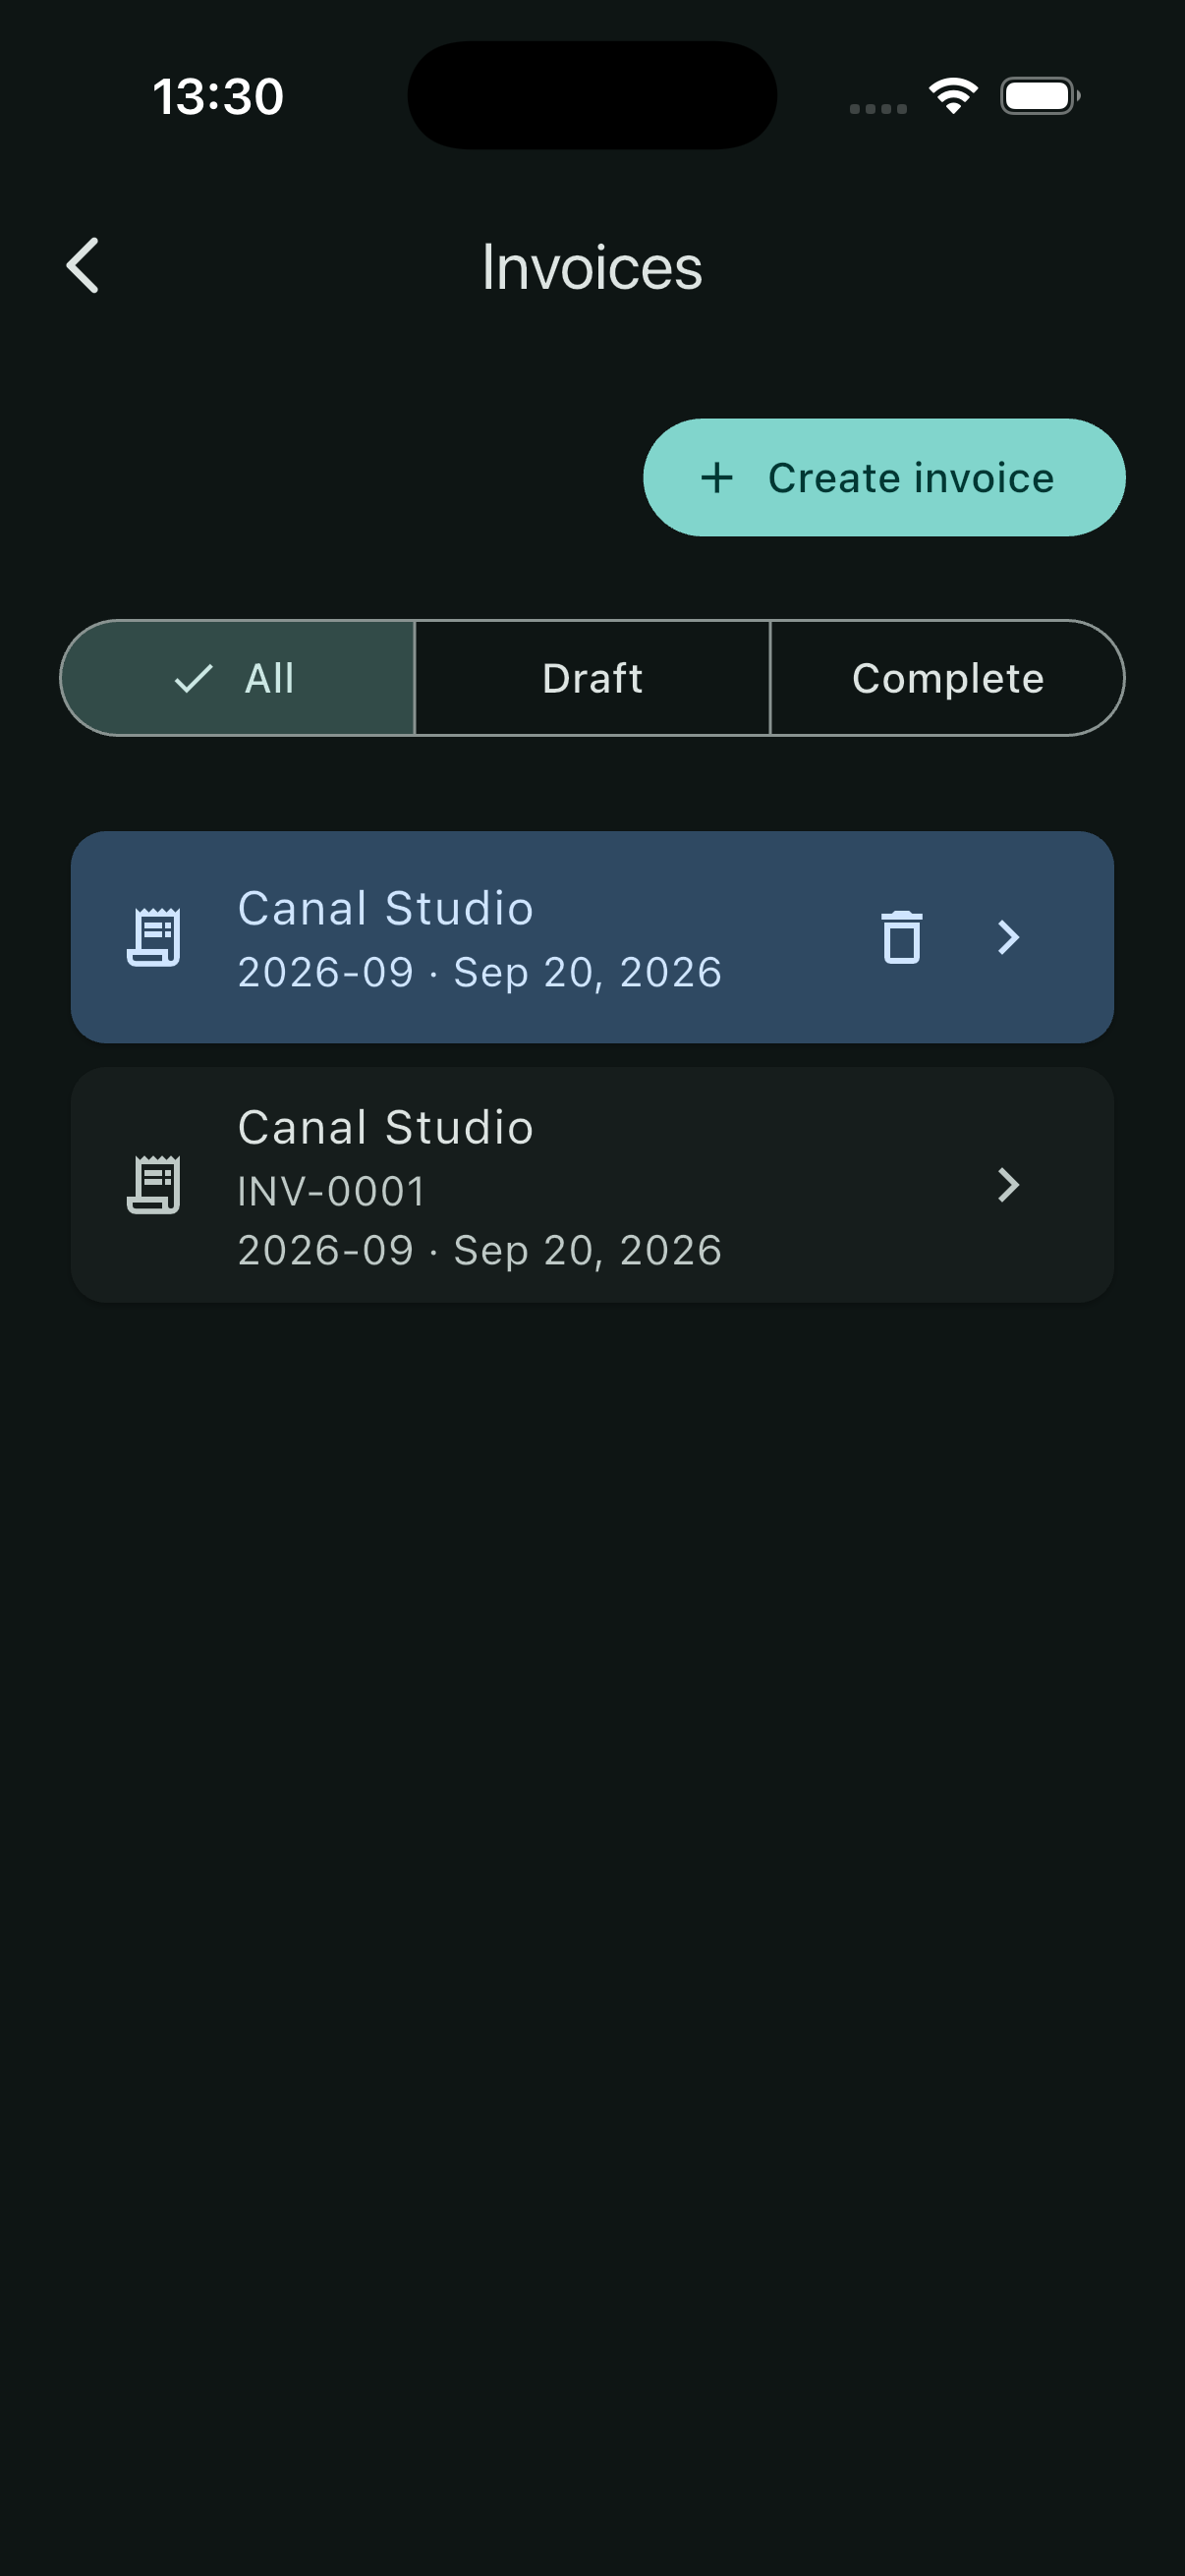
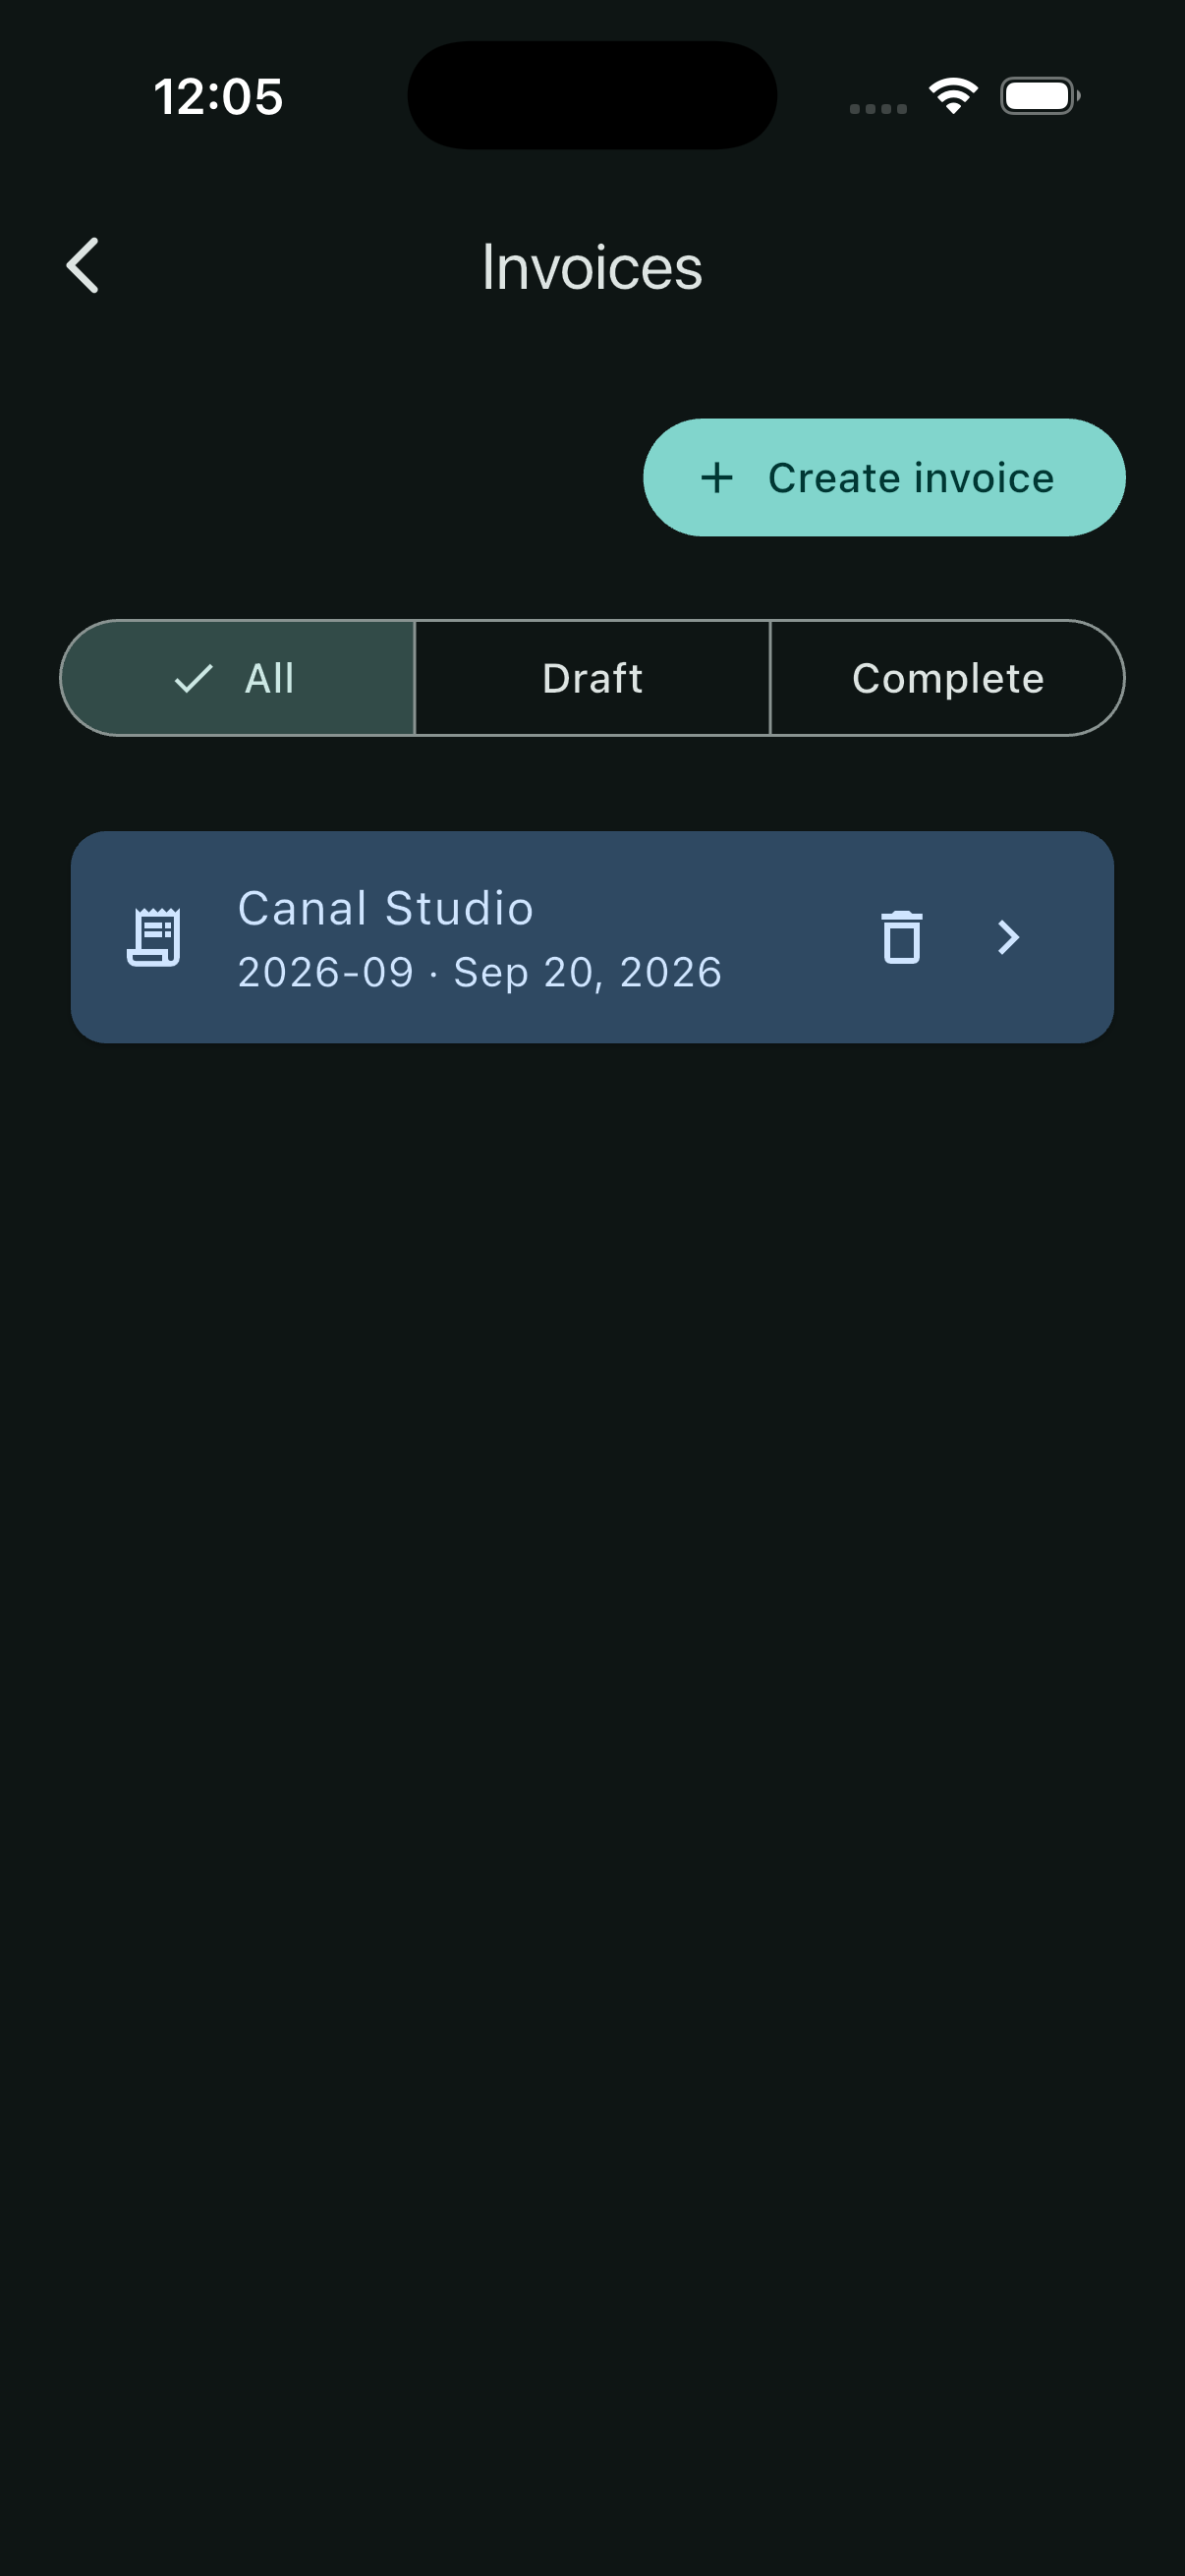
Use All, Draft or Complete above the list. A draft opens in the editor and has a delete action. A completed invoice shows its invoice number and opens its saved PDF.
Deleting a draft removes its internal record and PDF after confirmation. Previously exported copies and backups remain where you saved them.
View the completed example
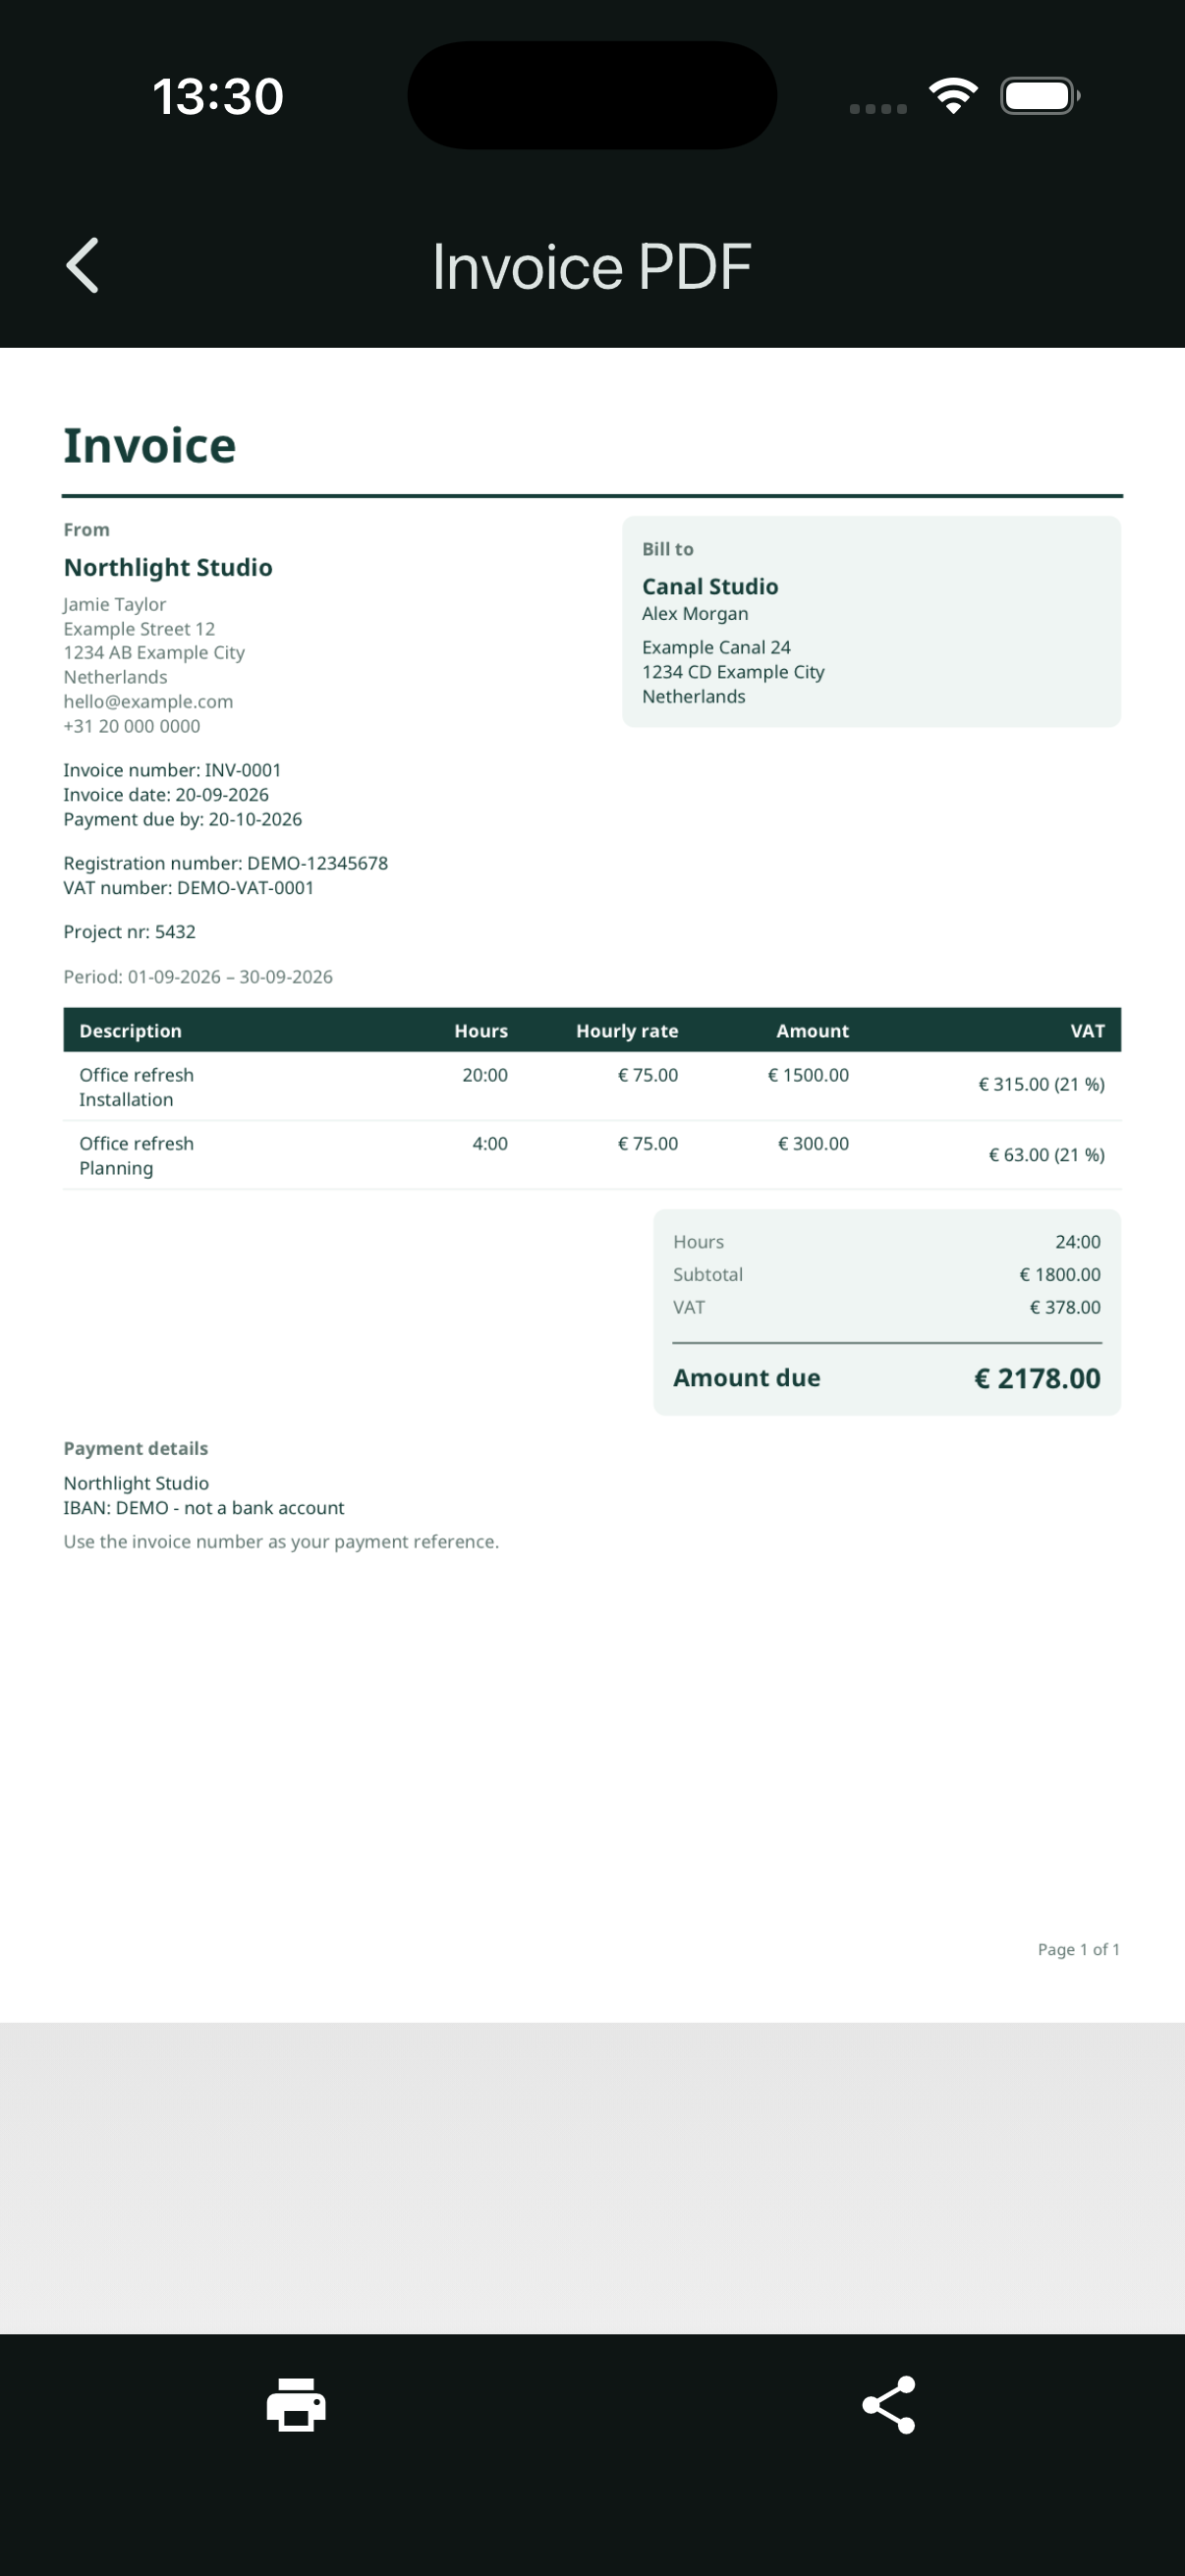
The completed example is INV-0001. It contains the same 24 hours at €75.00, €378.00 VAT and €2178.00 amount due. The DRAFT label is gone and the saved PDF offers print and share actions.
Open the completed example PDF. This is demonstration data, including the company, client billing address and payment details.
Understand saved copies and repeated numbers
Each invoice is stored inside the app and included in a ZIP backup. A completed invoice uses its number for the local PDF and record, for example invoices/INV-0001.pdf and invoices/INV-0001.json. Drafts use an internal identifier.
If a completed invoice would use a filename that already exists, HourNexa renames the older pair with the first free suffix: INV-0001-1, then INV-0001-2, and so on. The new invoice uses INV-0001. Both remain in the app and subsequent backups.
The suffix changes the stored filename only. It does not change the invoice number printed in the older PDF. Check your numbering settings to avoid issuing the same number twice.
Cloud copies follow the separate cloud file naming setting. Internal renaming does not rename copies already stored elsewhere.
Finish experimenting: back up, then clean up
To remove specific completed invoices, open Settings → Invoices → Invoice numbering → Danger zone → Delete completed invoices. Select one or more invoices, choose Continue, confirm that any needed copies are saved elsewhere, then confirm Delete selected invoices. This removes only the selected internal records and PDFs. Drafts, other invoices and external copies remain unchanged. If your selection contains the highest consecutive numbers in the current numbering sequence, the list offers Set Next invoice to …, showing the lowest selected number in that sequence. This option starts unchecked. With yearly numbering, it applies to the current year. Leave it unchecked to keep numbering unchanged. The final confirmation states which number will be used. You are responsible for choosing the correct next invoice number.
To clear every completed invoice and restart numbering, use the separate reset workflow below.
Use this workflow after trying out invoices and completing practice examples, when you want to clear those completed examples and choose a fresh starting number.
1. Make the backup first
- Return to the home screen and open Backup & Restore from its settings menu.
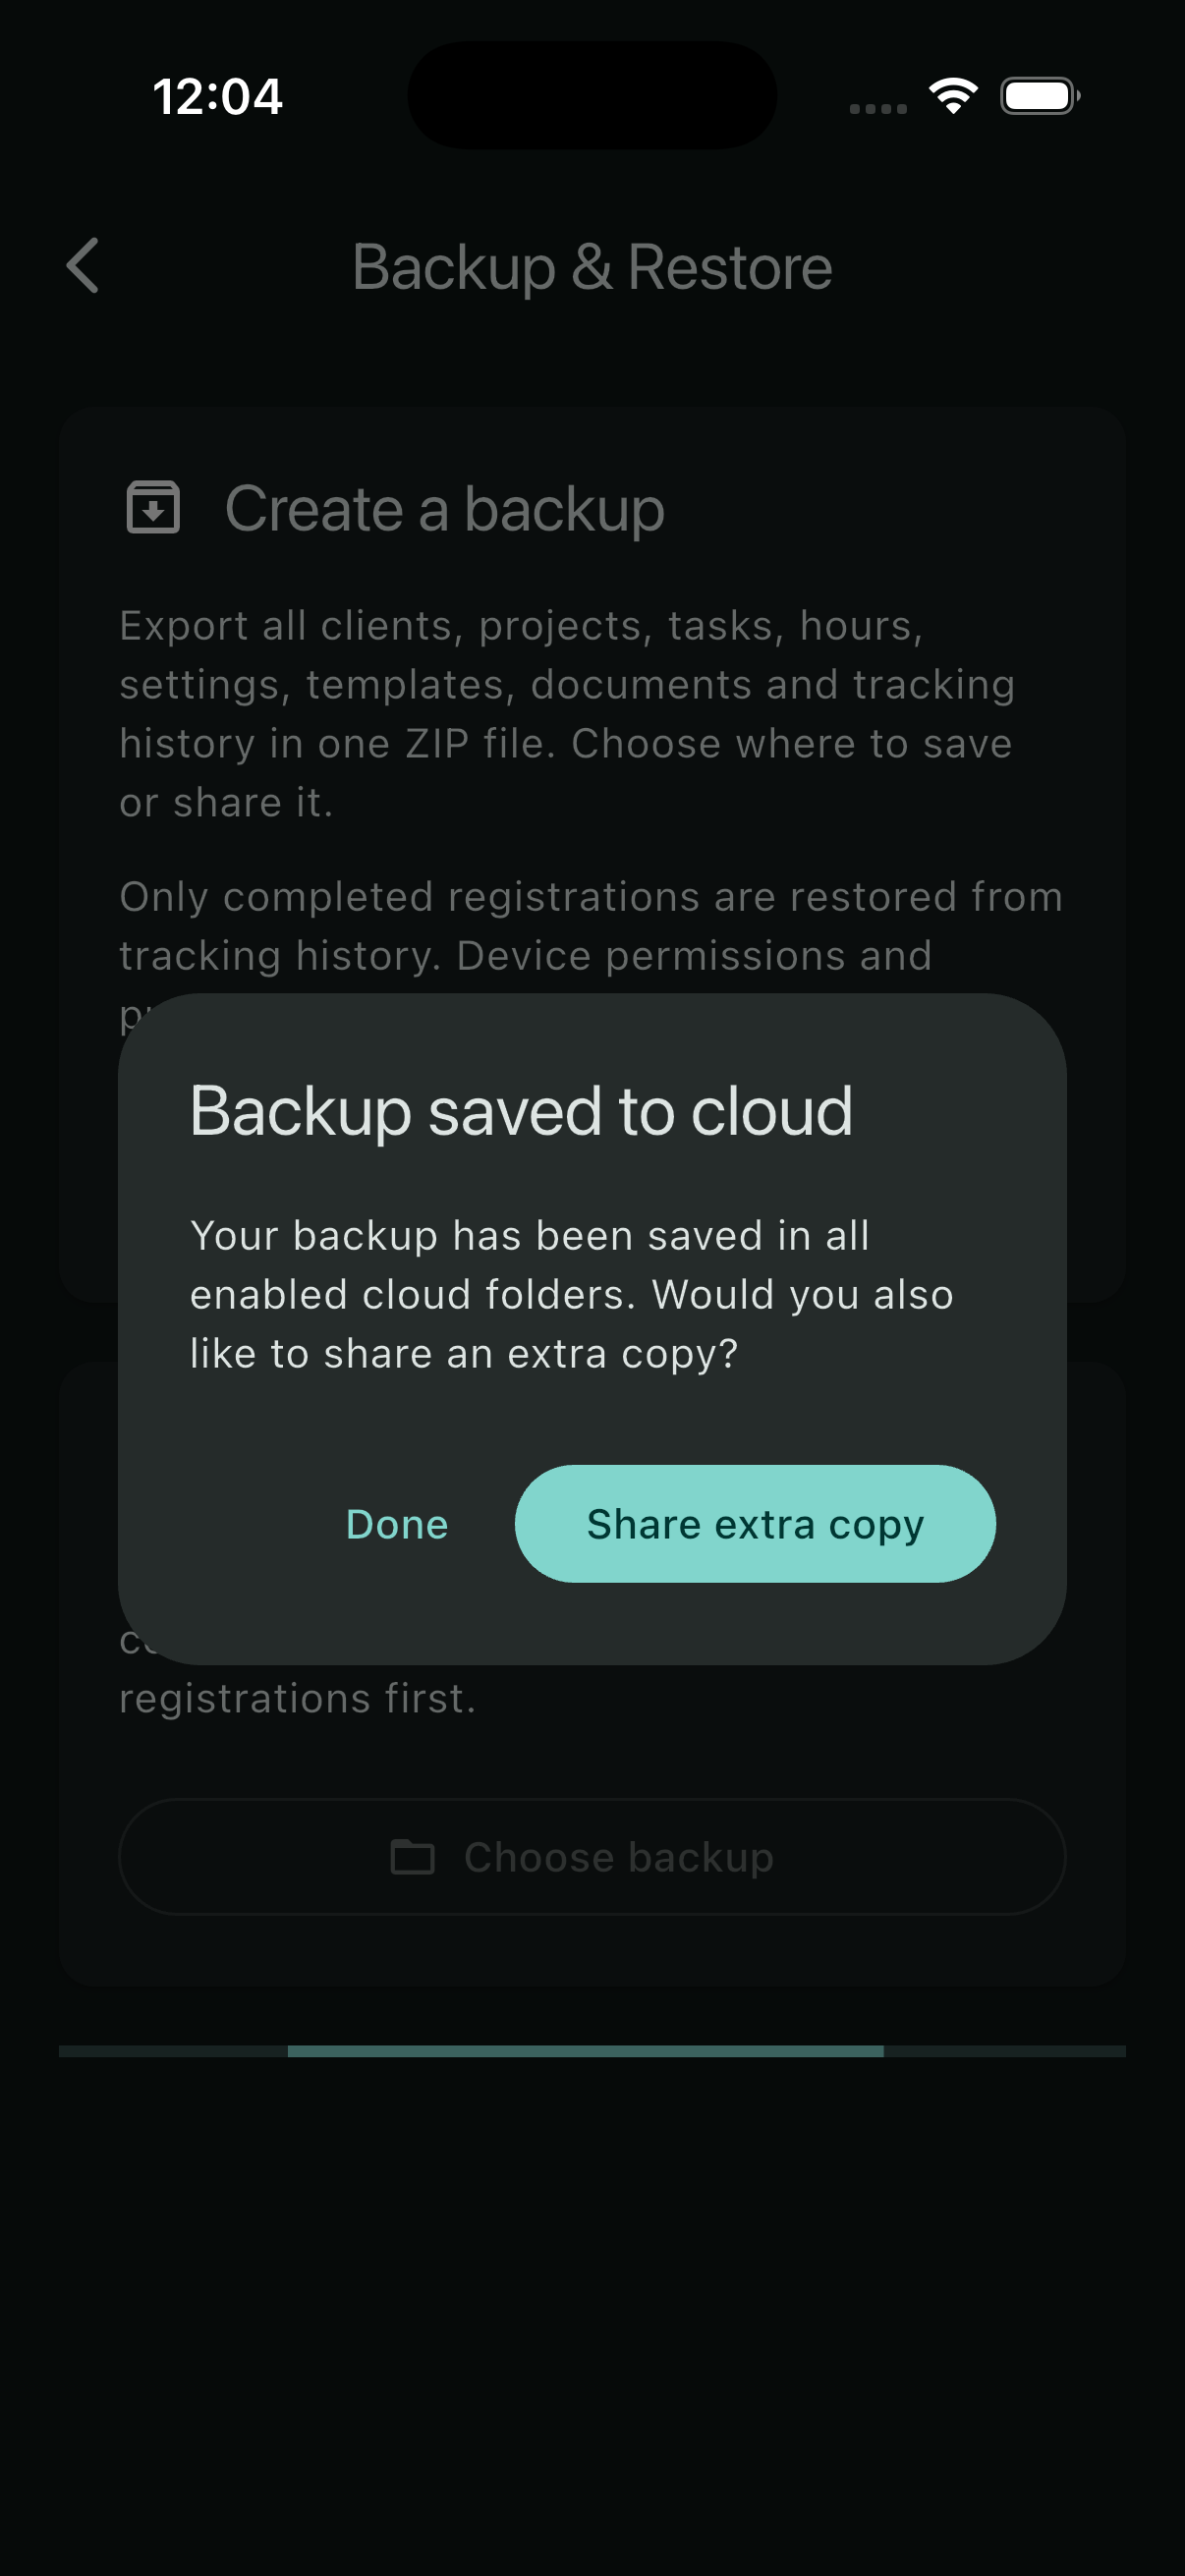
- Select Export ZIP. Complete the save to a destination outside the app. When extra cloud copies are enabled, wait for the app to confirm the backup was saved; you can also choose Share extra copy.
- Check that you can find the ZIP in the chosen destination. Keep any separate completed PDFs you need.
- Only then return to Settings → Invoices → Invoice numbering.
Reset does not create a backup for you. See Backup & restore for the full export and restore workflow.
2. Open the Danger zone
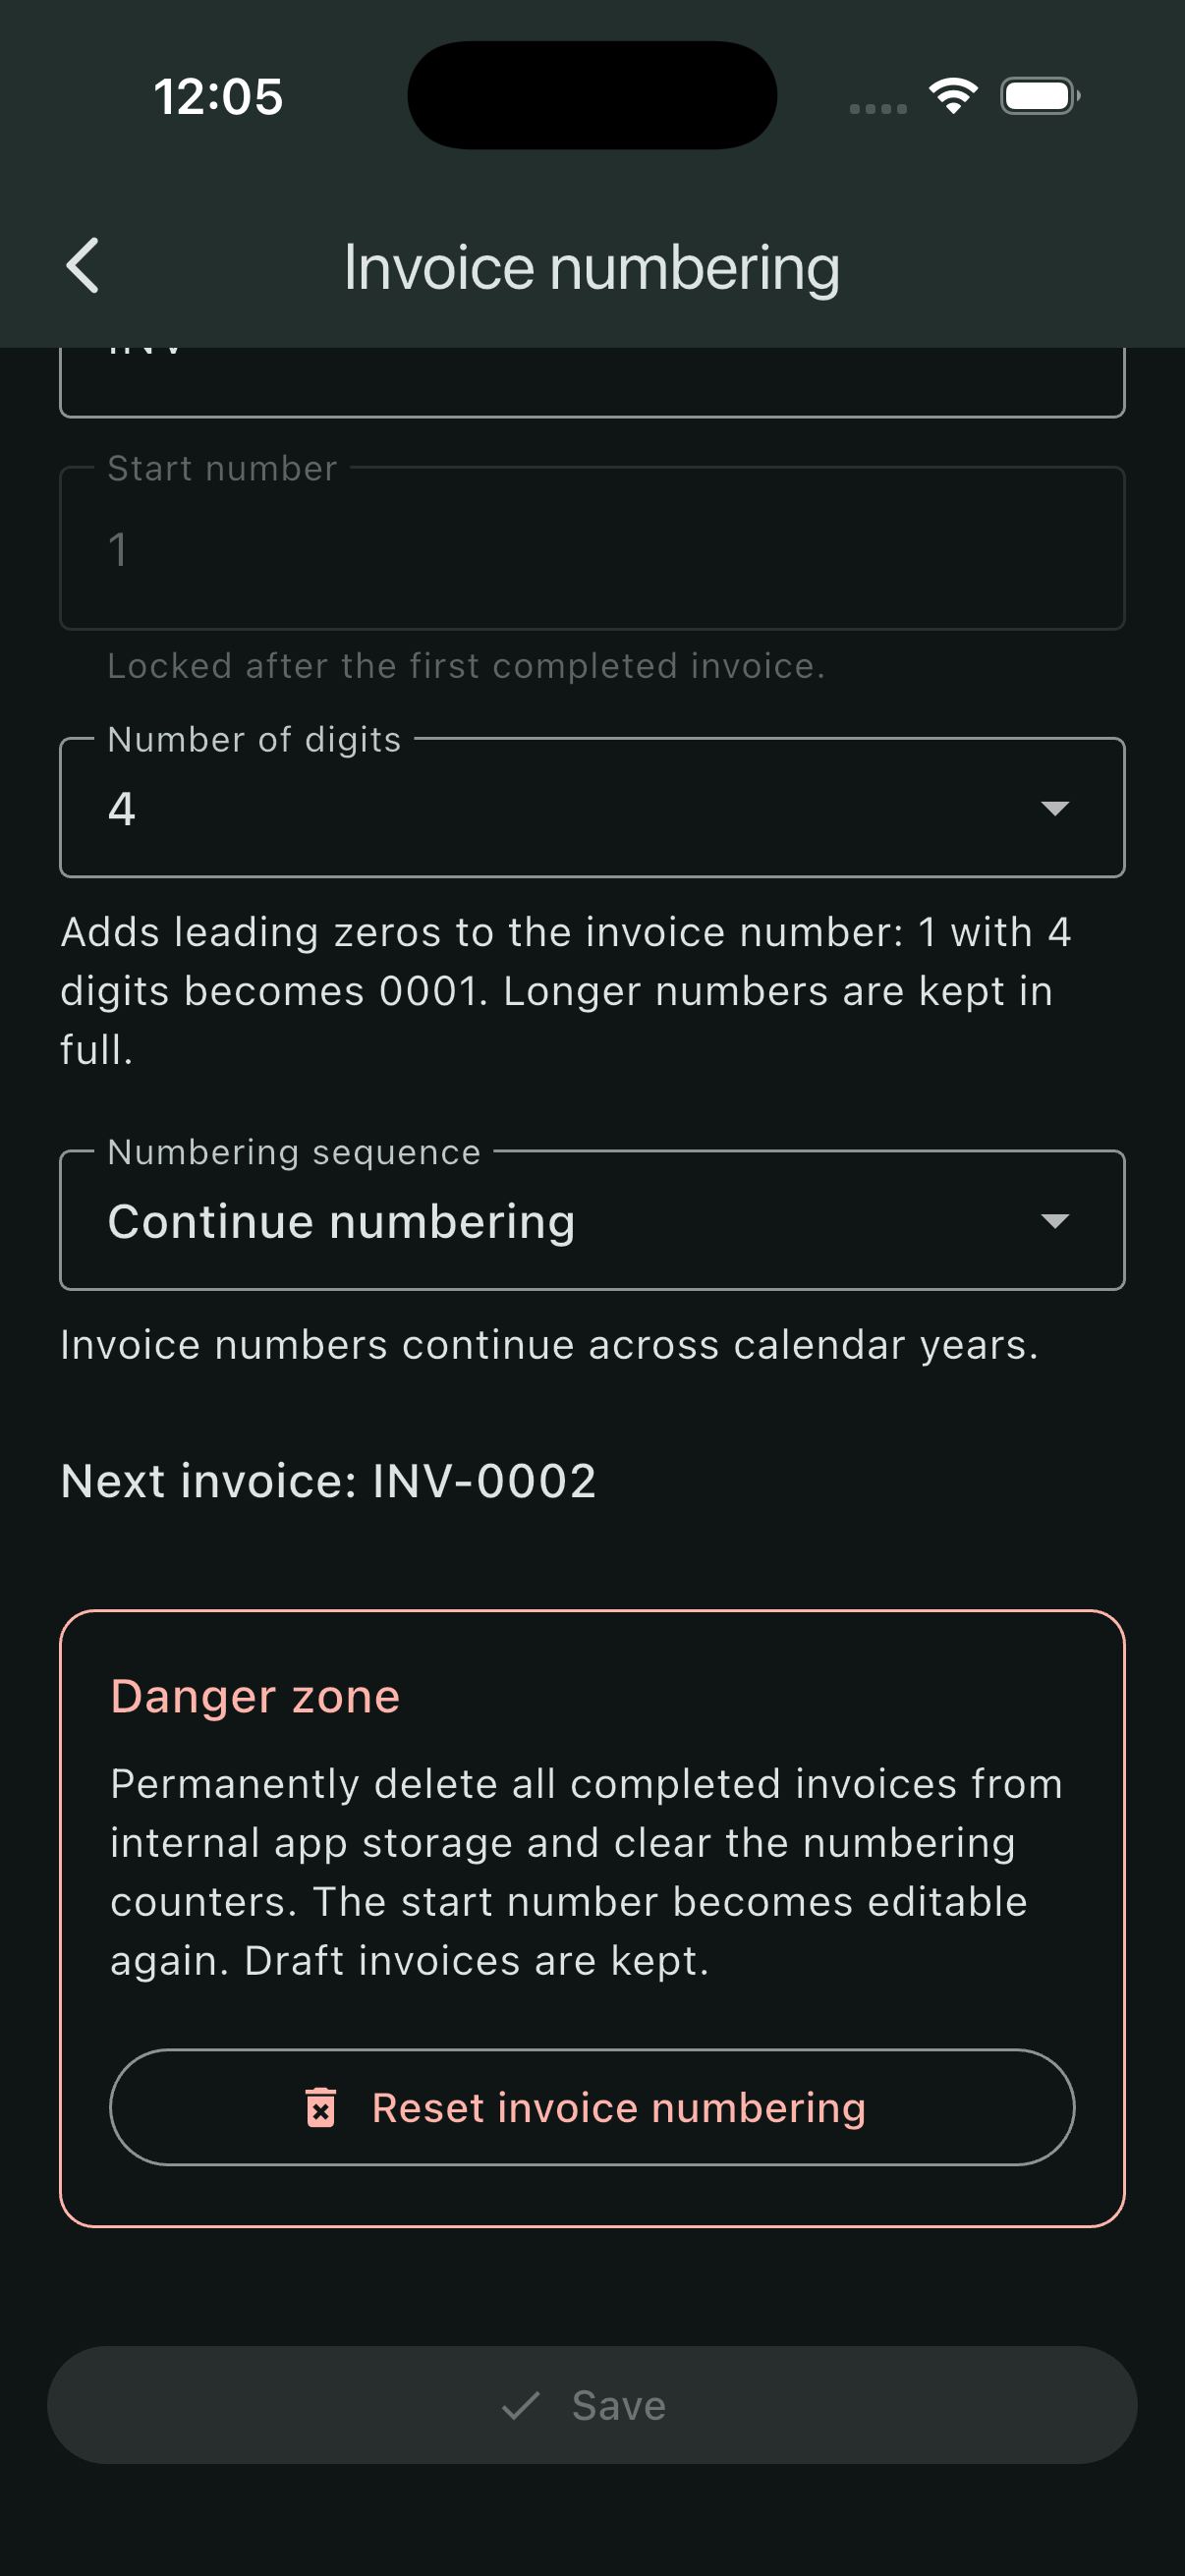
Scroll down and select Reset invoice numbering. Read both confirmation sheets before continuing.
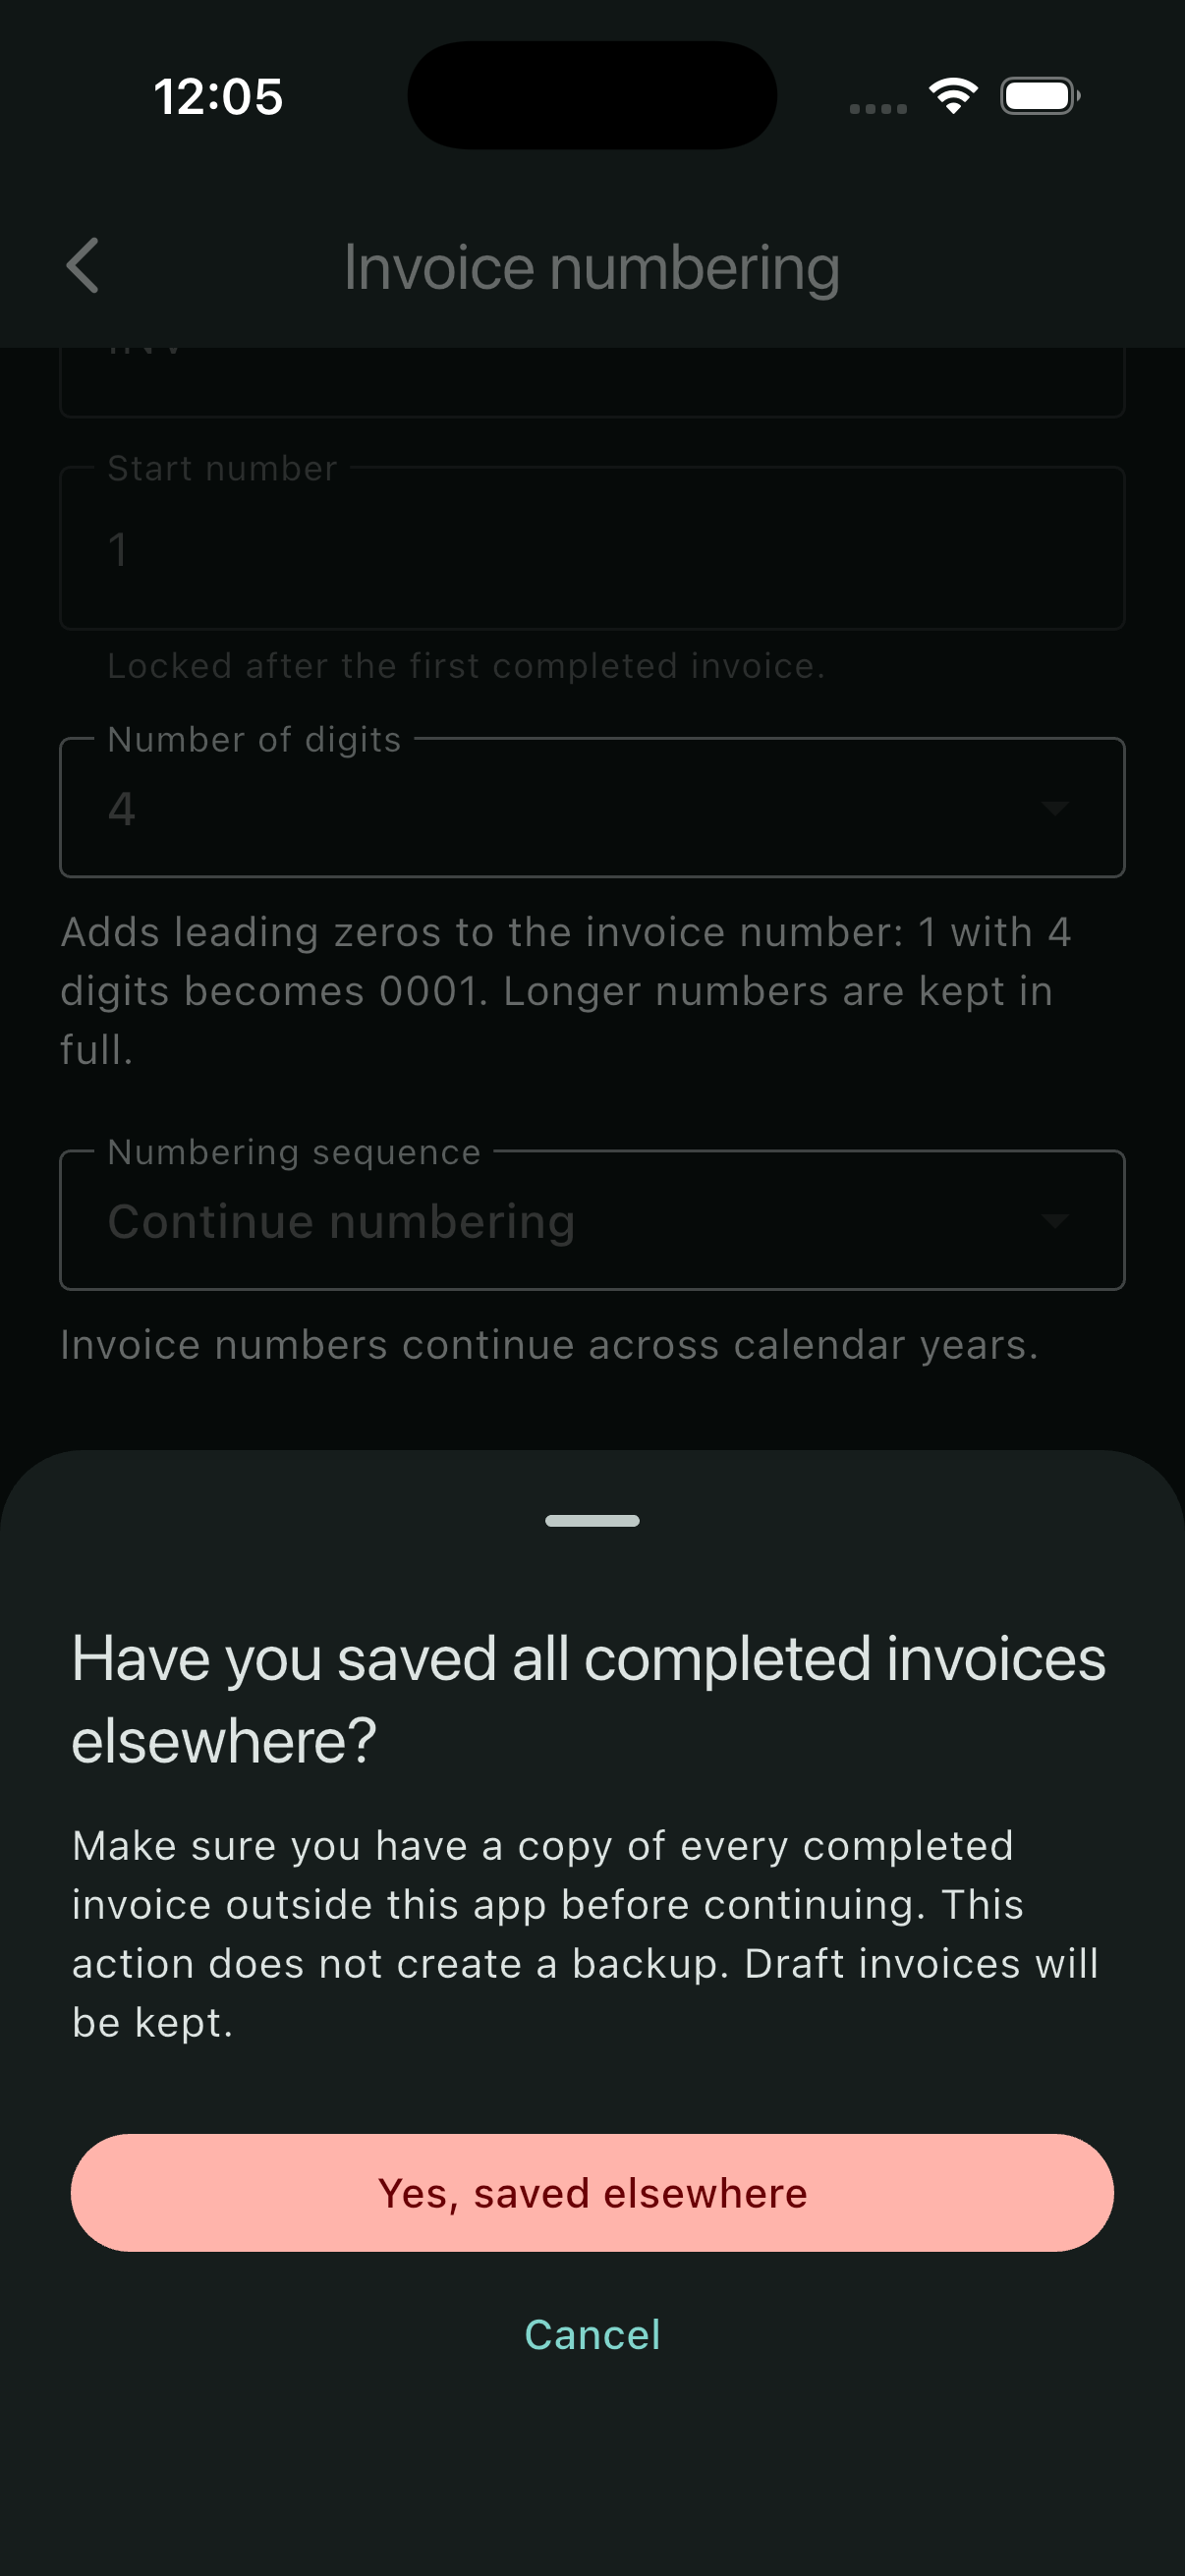
- Have you saved all completed invoices elsewhere? Choose Yes, saved elsewhere only after checking your external copies.
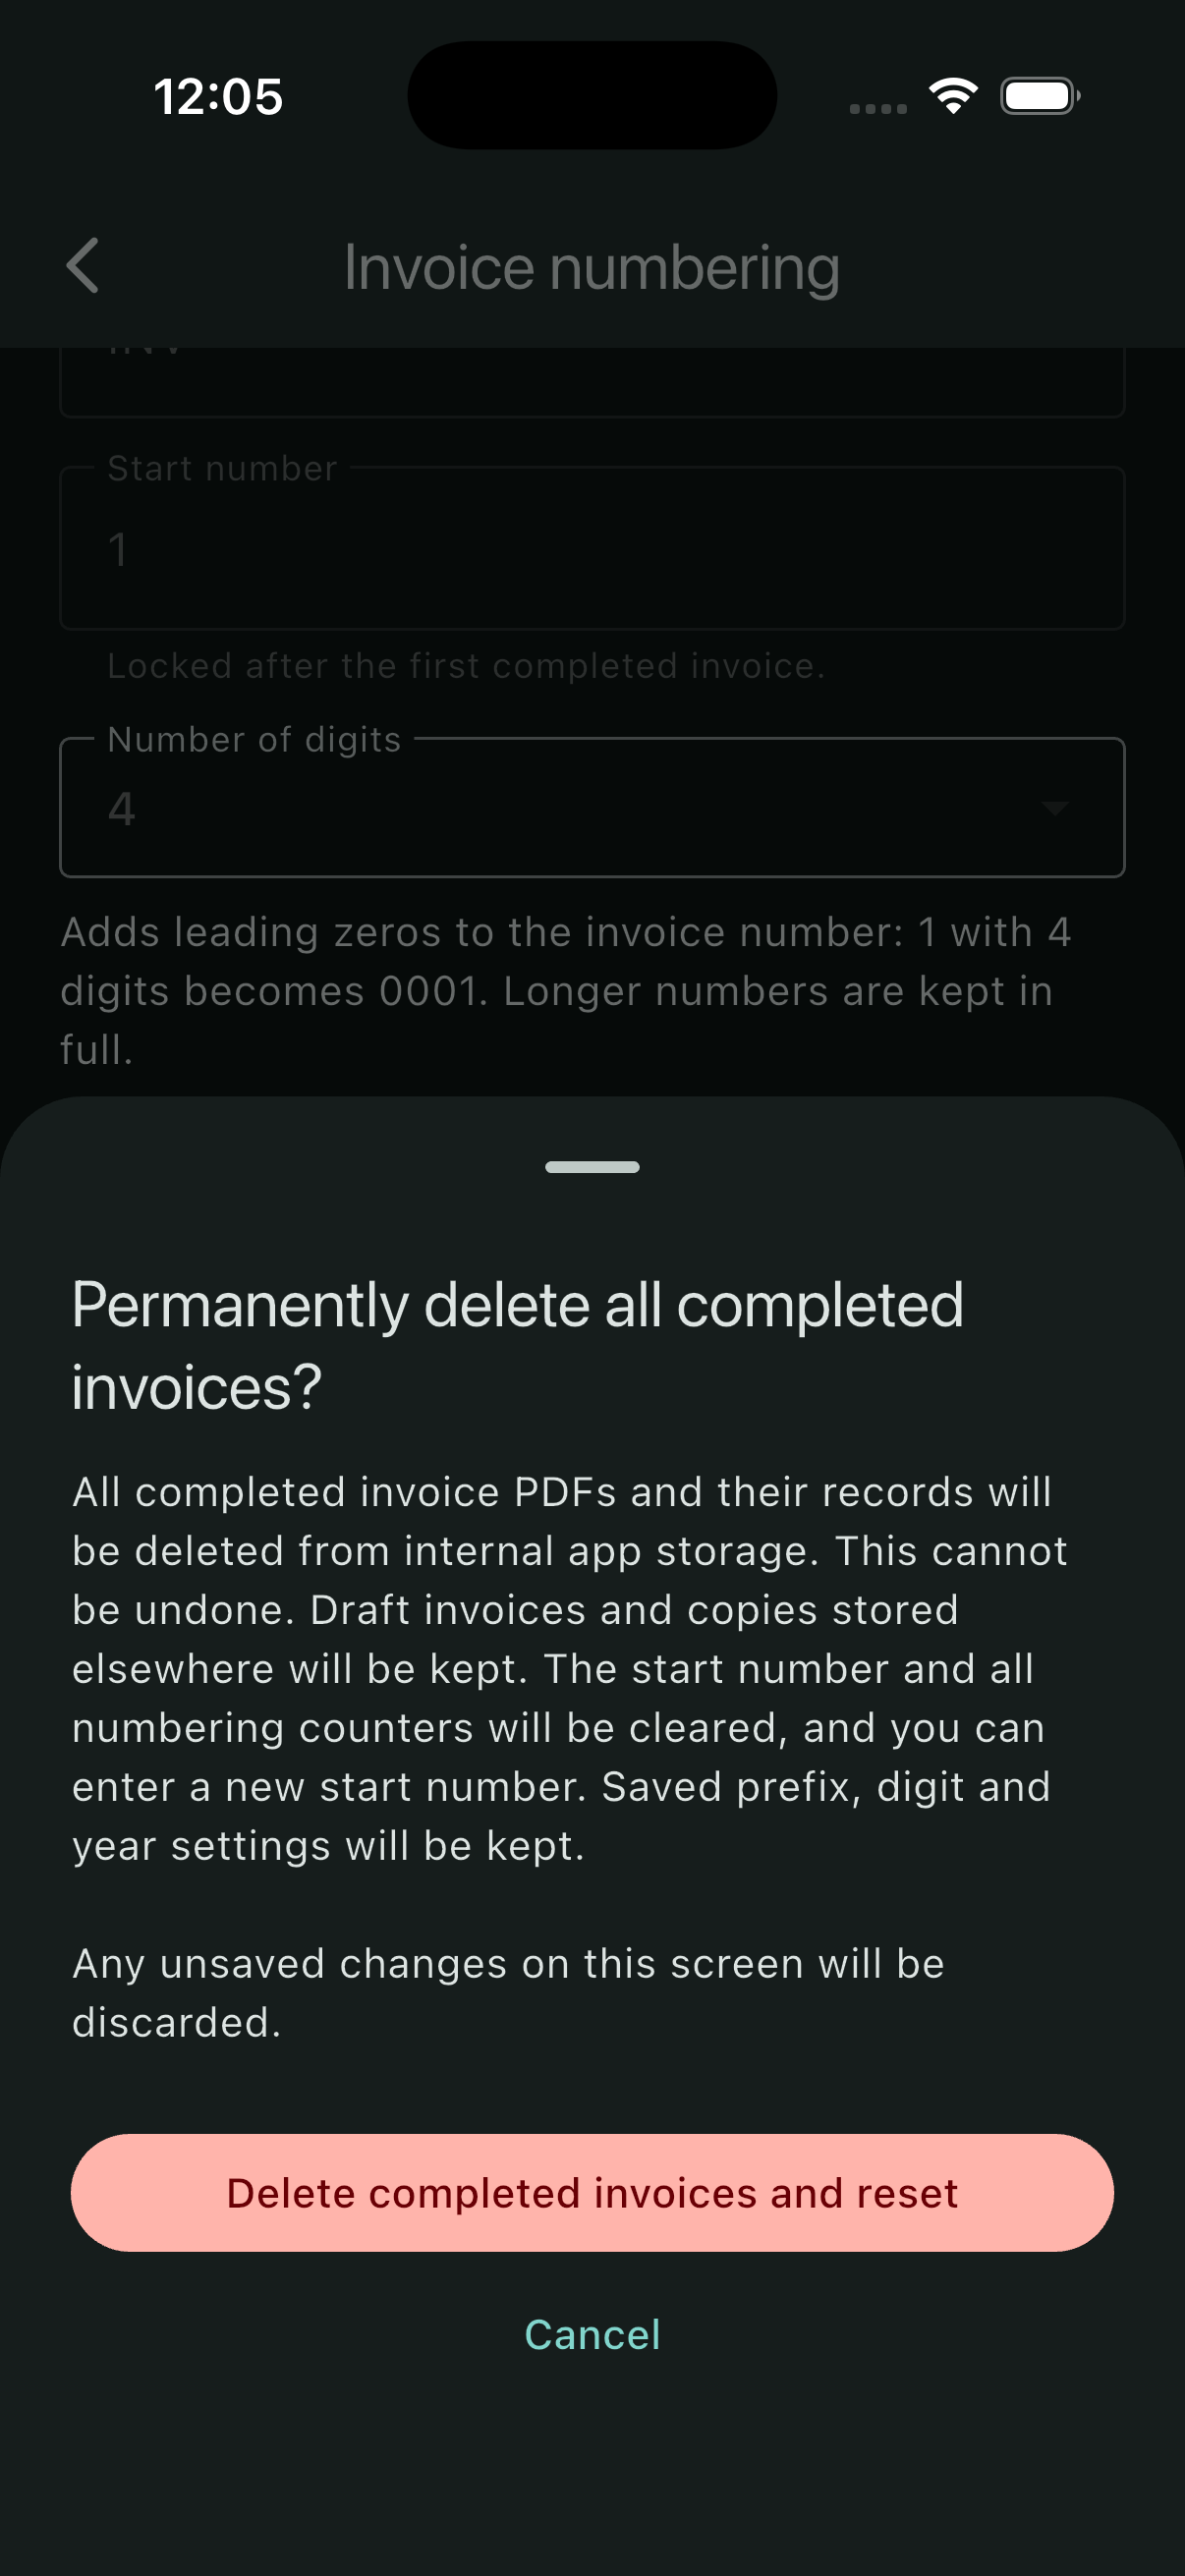
- Permanently delete all completed invoices? Review what will be removed, then select Delete completed invoices and reset.
You can select Cancel at either confirmation to leave the invoices and numbering unchanged. The deletion happens after the second confirmation.
3. Check the result and choose your next start number
| After reset | Result |
|---|---|
| Completed invoices | All internal records and PDFs are deleted, including older copies renamed with a suffix. |
| Draft invoices | Remain in the list and can still be opened, edited or deleted individually. |
| Start number and counters | Reset to 1. Start number becomes editable again; the saved numbering format determines Next invoice. |
| Saved prefix, digits and year settings | Kept. Unsaved changes on the numbering screen are discarded. |
| Clients, projects, tasks and hours | Kept. Resetting invoices does not clear your recorded work. |
| External PDFs and ZIP backups | Kept in their existing destinations. |
Enter the intended start number without leading zeros, check the prefix, digits and sequence, then select Save before completing another invoice. Resetting for practice does not determine which number should be used for real invoices.
Restoring the earlier full backup can bring back the completed practice invoices and previous numbering settings. Partial restore can bring back selected completed invoices and their PDFs. It keeps existing drafts and current numbering; select Full restore to bring back drafts and the numbering from the backup. Keep the backup as a separate copy unless you intend to restore that earlier state.